Archives

Installing ifixes in IBM Connections 4.5 CR 5

This blog will provide the highlevel steps to install an ifixes on IBM Connections 4.5 CR 5.

Note: These steps are generic in nature and would apply for most of the ifix in connections unless specified by the PMR team or documented in the ReadMe of that ifix

Env: IBM Connections 4.5 CR 5

iFixes to be installed :

4.5.0.0-IC-News-IFLO75278.jar

4.5.0.0-IC-News-IFLO75278-OSGi.jar

IBM connections Installation Path : /opt/IBM/Connections

Step1: Ensure that the ifixes are not already installed

              a. Run the setupCmdLine.sh to load the env setting for the Connections

[root@connections1 /]$ . /opt/IBM/WebSphere/AppServer/profiles/Dmgr01/bin/setupCmdLine.sh

NOTE: the updateSilent.sh command will not launch if the setupCmlLine.sh is not executed

            b. Navigate to where the updateInstaller is located , in my case its /opt/IBM/Connections/updateInstaller

[[root@connections1 /]$cd /opt/IBM/Connections/updateInstaller

            c. Run the updateSilent.sh with the attributes mentioned below

 [root@connections1 updateInstaller]$ ./updateSilent.sh -fix -installDir /opt/IBM/Connections | grep 75278 

Where 75278   is the ifix Number  which we are going to install

image

We don’t have the ifixes installed so proceed with the downloading of the ifixes

Step2: Download the Fixpack from the Fixcentral based on your environment and your issues

We will downloading the ifix 4.5.0.0-IC-News-IFLO75278.jar & 4.5.0.0-IC-News-IFLO75278-OSGi.jar

NOTE :For the ifix to be installed the Fix Central will recommend the prerequisite updateInstaller

which needed to be installed

Download the following

      4.5.0.0-IC-News-IFLO75278.jar

      4.5.0.0-IC-News-IFLO75278-OSGi.jar

And also download the UPDI which is required to install the above ifix

    4.5.0.0-IC-Multi-UPDI-20131020.zip

image

=================================================================

NOTE : This is needed only if your updateInstaller is not of the same version

To check the version of the updateInsaller

            a. Navigate to /opt/IBM/Connections/updateInstaller/version

bash-3.2$ [root@connections1 /]$ cd /opt/IBM/Connections/updateInstaller/version

       b. Open lcui.product file

[root@connections1 version]$ more lcui.product‘<!DOCTYPE product SYSTEM “product.dtd”>
‘<product name=”Update Installer for IBM Connections”>
‘<id>lcui</id>
‘<version>4.5.0.0</version>
‘<build-info date=”10/20/2013” level=”00000001″/>
‘</product>
[root@connections1 version]$

Which is  4.5.0.0-IC-Multi-UPDI-20131020.zip

If the version are same as the one required by the ifix  you don’t need to upgrade your updateInstaller

===================================================================

Step3: Installation of the New updateInstaller 4.5.0.0-IC-Multi-UPDI-20131020.zip

NOTE: This step is needed only if the updateInstaller is lower that the one required by the ifixes

 a. Extract the 4.5.0.0-IC-Multi-UPDI-20131020.zip

b.Take the backup of the existing updateInstaller in the location /opt/IBM/Connections/

[root@connections1 Connections]$cd /opt/IBM/Connections/
[root@connections1 Connections]$mv updateInstaller updateInstaller.backup

c. Extract the file 4.5.0.0-IC-Multi-UPDI-20131020.zip in the location /opt/IBM/Connections

And make the scripts executable with chmod 755 *.sh if it is not in executable

[root@connections1 updateInstaller]$chmod –R 755 *.sh

That’s It .. This will install the updateInstaller

Step4: Take the necessary backup

        a. Take the backup of the Connections Customization Directory. You could take a tarzip

backup or copy it in a backup location

NOTE : To get the Customization Directory

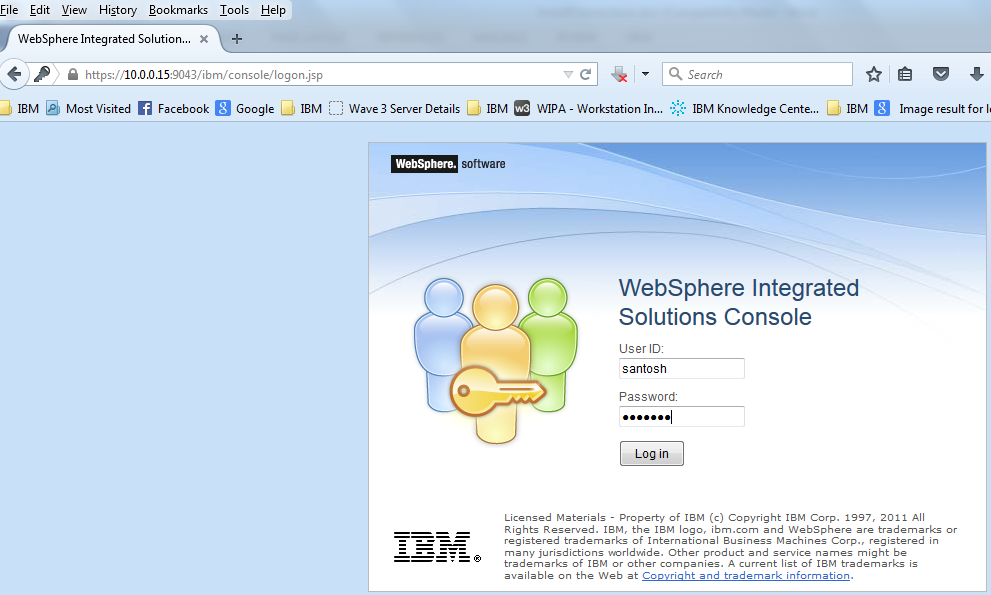
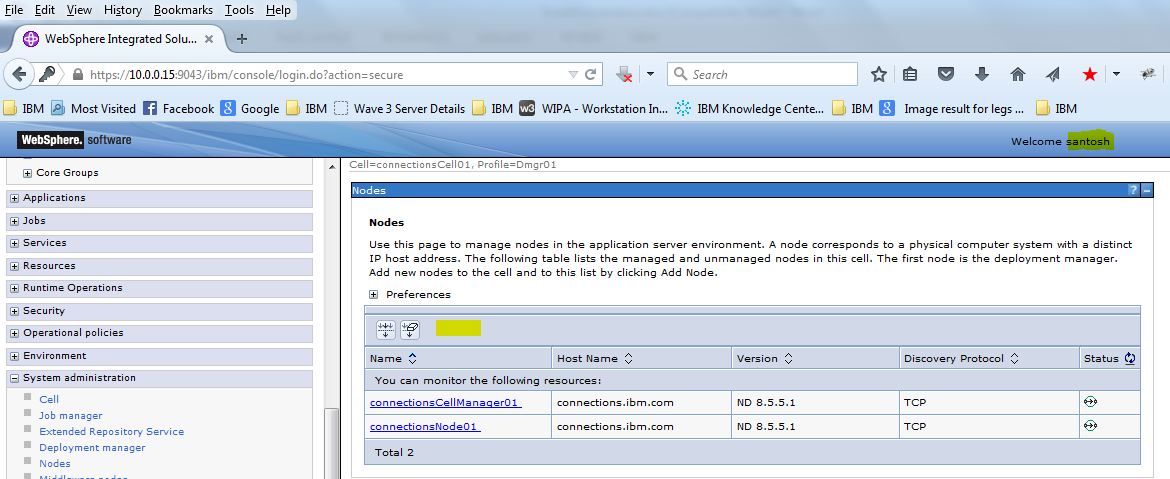
Login to the connections admin console >>

WebSphere Variables >>CONNECTIONS_CUSTOMIZATION_PATH

[root@connections1 ifixes]$ cp -r /share/customization/ /backup/customization.backup

          b. Take the backup of the LotusConnections-config from the Dmgr Cell

[root@connections1 updateInstaller]$ cd /opt/IBM/WebSphere/AppServer/profiles/Dmgr01/config/cells/connectionsCell01/
[root@connections1 connectionsCell01]$ cp -r LotusConnections-config/ /backup/LotusConnections-config.backup

          c. Take the copy  of the Existing ifixes installed for references

For Eg.

[root@connections1 updateInstaller]$ . /opt/IBM/WebSphere/AppServer/profiles/Dmgr01/bin/setupCmdLine.sh
[root@connections1 updateInstaller]$ ./updateSilent.sh -fix -installDir /opt/IBM/Connections > /backup/VersionDetails_BeforeIfix.txt


        d. Take the Backup of the specific Database if the ifix modifies some changes in the DB

Step5: Installation of the Ifix

1. Stop the Connections Servers Servers and the Nodeagent

2. Ensure the dmgr is started Otherwise during the UpdateWizard will not be able to proceed further

 3. Copy the ifix which were downloaded from the fixcentral to the ifixes folder in updateInstaller Folder  , Though  It can be any location within the server

[root@connections1 updateInstaller]$ mkdir /opt/IBM/Connections/updateInstaller/ifixes


  The Files were transferred using Winscp

image

[root@connections1 updateInstaller]$ ls -l ifixes

image

  4. Launch the GUI Console of RHEL Server

As root ( or any user with which the installation was done) launch the GUI Console of the

RHELServer using VNC or Xming or any X11 forwarding tools


  5.  Run setupCmdLine.sh to load the env variables

[root@connections1 updateInstaller]$ . /opt/IBM/WebSphere/AppServer/profiles/Dmgr01/bin/setupCmdLine.sh

NOTE: the updateWizard.sh command will not launch if the setupCmdLine.sh is not executed

6. Then Launch the updateWizard.sh from  the GUI from the path /opt/IBM/Connections/updateInstaller

image

   7. Click Next on the welcome screen

image

          8. Select the “Install updates ” Option and provide the Path of the ifixes folder .

          In my case its /opt/IBM/Connections/updateInstaller/ifixes.

Then click Next

image

         9. The updateWizard will detect the ifixes in that folder . We had copied two ifixes  

4.5.0.0-IC-News-IFLO75278.jar

4.5.0.0-IC-News-IFLO75278-OSGi.jar

We can click “Details” if we want more information on these ifixes

Select both the ifixes and click Next

NOTE: If there are any dependencies ifixes requirement it will be prompted

image

        10. The updateWizard will provide a message to take the necessary backups before the installation.

Check the box and Click  OK

image

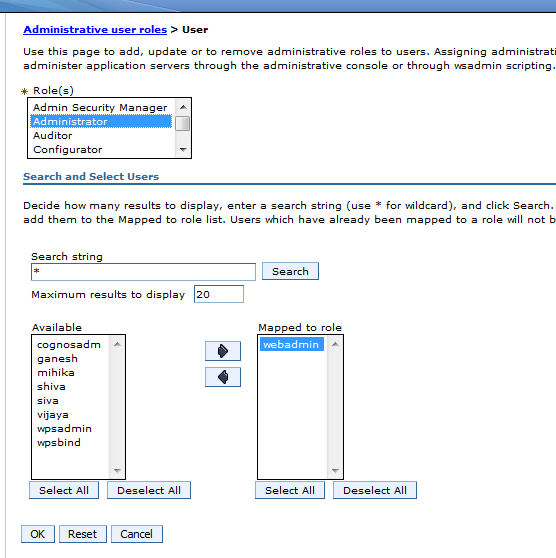
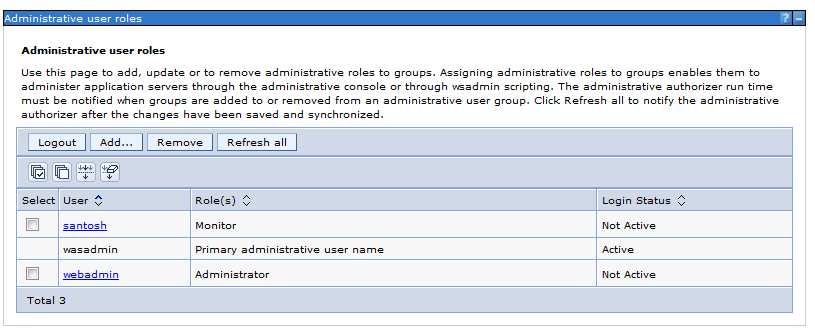
          11.  Provide the Deployment Manager Admin user name and Password . This will be validated to proceed

image

            l2. After the Validation Successful .. Click OK

image

          13.   Check the summary page . it will again display the ifixes which we have selected to Install

Click Install

image

Note : It may take some time depending on the number of ifixes

image

           14. The logs are created in the /opt/IBM/Connections/version/log/

Tail the logs for the ifixes

 [root@connections1 log]$ cd /opt/IBM/Connections/version/log/
[root@connections1 log]$tail –f  20151107_032631_LO75278-OSGi_news_install.log

image

              15.  If the iFIx installation was successful we will get a “ Result: The iFix Installation was successful”

message in the updateWizard

image

Checks the logs too . The BUILD SUCESSFUL message should be displayed in them

image

===============================================================================

NOTE: The Installation of the ifix can be done using command line too

For example:

[root@connections1 updateInstaller]$./updateSilent.sh -installDir /opt/IBM/Connections -fix -fixDir /opt/IBM/Connections/update/ifixes -install -fixes LO75278 LO75278-OSGi -wasUserId wasadmin -wasPassword <password>  -featureCustomizationBackedUp yes

=============================================================================

           16. Validate if the ifix is installed

[root@connections1 log]$ cd /opt/IBM/Connections/updateInstaller

a. Run setupCmdLine.sh

[root@connections1 /]$ . /opt/IBM/WebSphere/AppServer/profiles/Dmgr01/bin/setupCmdLine.sh

 b. Run updateScript.sh with the options mentioned below

[root@connections1 updateInstaller]$ ./updateSilent.sh -fix -installDir /opt/IBM/Connections | grep 75278

image

We see that the ifixes for LO75278 is installed

   17.  Restart Dmgr and Check the dmgr logs
Stop Dmgr

[root@connections1 /]$ cd /opt/IBM/WebSphere/AppServer/profiles/Dmgr01/bin/stopManager.sh

Provide the wasadmin credentials while stopping

           Start dmgr

[root@connections1 /]$ cd /opt/IBM/WebSphere/AppServer/profiles/Dmgr01/bin/startManager.sh

18. Start the nodeagent , Do a full synchronization

[root@connections1 /]$ /opt/IBM/WebSphere/AppServer/profiles/AppSrv01/bin/startNode.sh
  1. Start the Sever , and check  the logs for any errors

In this way we can install the Ifixes for on IBM connections 4.5


To get regular mail updates on my Posts..
Please subscribe to the site http://webspherepundit.com
And also like the Facebook Page
https://www.facebook.com/webspherepundit

Integrate TDS LDAP with Websphere Applicaiton Server

Security is a critical aspect of any distributed application model. Most of the firms have a centralized repository of the users in LDAP servers like Active Directory, TDS, Open DJ etc.

Activity :
To Integrate Tivoli Directory Server LDAP with Websphere Application Server as Federated Repository

Assumptions : 
a) Tivoli Directory server is allready Installed and users are avaliable in it ( Note Any LDAP ie Active Directory , TDS , OpenDj , Sun Directory Server etc can be used )

b) Websphere Application Server is installed and profiles and servers created and running .
c) The TDS Ldap server should be reachable from the DMGR and the Nodes .. so you can test it using telnet command
From Dmgr and Node check telnet to LDAP at Port 389 ( or which ever port its is running)

Eg : telnet <Ldap IP> 389

d) In this example I have a Dmgr , Nodeagent and a server and will be integrating the Dmgr with TDS LDap


Steps to Integrate LDAP with WAS

Step 1: Details from the LDAP Team.
Before beginning the Ldap Integrating there are a few information  which are needed from the LDAP team ( If its not managed by you )

Basic Details needed :

Hostname/IP address of TDS Server : 10.0.0.15
Port No : 386  ( non SSL)
Bind DN : cn =root
Bind Password : password
Base Dn: dc=ibm,dc=com

Additional properties may be needed depending on your env like
User Filter:
Group filter:
User ID map:
Group ID map:  etc..

But in my case its not needed as most are default

NOTE : Ensure that the WAS admin user which we logged in the WAS console with ie wasadmin is unique in both the Filebased and in LDAP  ie the user wasadmin should not be avaliable in the LDAP  as its allready there in the FileBased Registry

And If “wasadmin” is also there in LDAP , then there will be conflict and we will be prevented to login to the admin console as “wasadmin” post the Integration with TDS.

As a best practice , keep wasadmin intact but create another user in the LDAP and later add this use to the admin group from the was console .

For eg  I have created “webadmin” as an user in the LDAP which I will add to the was administration group after the WAS integration wth LDAP in this article

This is applicable for all the users in the WAS and LDAP. It should be unique in the repositories


Step 2: Validating using LDAP Browsers

a) Downlaod the Ldap Browser and extract it . Then Launch the “lbe.jar”

lbe

lbe1

b) Go File >> New

lbe2

c) Give a name to the connections for recognition . I have entered TDSLDAP

lbe3

d) Go to “Connections” tab

LdapBrowser1
             1) Enter the IP Address(10.0.0.15) Port No (389) and click Fetch DN .
             2) Select dc=ibm,dc=com
            3) Uncheck  “Anonymous bind”
            4) Enter username “cn=root” and password = password
            5) Click Save and then Connect

e) We will see all the users which are there in the Ldap in the Ldap Browser console

LdapBrowser2

Step 3: Once all the information is available and validated, we can proceed with the integration of Ldap with WAS


Step 4: 
Login to the WAS Admin console with wasadmin user

url :https://10.0.0.15:9043/ibm/console 

Just to check the list of users Navigate to Users and Group >> Manage Users
We  see the List of users before the integration . Only “wasadmin” as File Based Realm

FederatedRepos0

Step 5: To Integrate Ldap .. Click  “Global Security “

FederatedRepos

Then Click “Configure” on the Federated Repositories


Step 6:
 Click on “Manage Repositories” as per the screenshot

FederatedRepos1


Step 7:
 Click  “ADD” and  , Select “LDAP repository” from the dropdown

FederatedRepos3


Step 8:
 This page we need to enter the details of the LDAP ( shared by Ldap team )
      a ) Enter the LDAP Name  (  Can be any name which will identify it . I have named it TDSLDAP )
     b )  In the Drop Down Select “IBM Tivoli Directory Server “
     c ) Enter the Bind Distintguised Name : cn=root
    d )   Enter the Bind Password : password
    e )  Here the Federated Repository properties for login is “uid” it might differ based on your              environment it could be “cn” “email id ” etc
    f )  Primary Host Name : connections.ibm.com ( you could provide the ip too )
    g )  Port No : 389
    i )  Click Apply and Save

FederatedRepos4


FederatedRepos5


Step 9:
 Click on Global security > Federated repositories

FederatedRepos6

Click on “Add Repositories ( LDAP custom etc )


Step 10:
 From the drop Down Select “TDSLDAP”

FederatedRepos7

Enter the Base DN in our case : dc=ibm,dc=com


Step 11:
 Click Apply and Save

FederatedRepos8


Step 12:
 Check “Allow operations if some of the repositories are down”

FederatedRepos9

This will enable us to login as wasadmin to the admin console even if the LDAP id down .


Step 13: 
Click Apply and Save

FederatedRepos10

Step 14: Do full Synchronise


Step 15:
 Stop the Servers, Nodeagent and the Dmgr

Stop Servers
/opt/IBM/WebSphere/AppServer/profiles/Custom01/bin/stopServer.sh server1

Stop Nodeagent
/opt/IBM/WebSphere/AppServer/profiles/Custom01/bin/stopNode.sh server1

Stop Dmgr
/opt/IBM/WebSphere/AppServer/profiles/Dmgr01/bin/stopManager.sh


Step 16: Start the Dmgr , Nodeagent and Servers
Start Dmgr :
/opt/IBM/WebSphere/AppServer/profiles/Dmgr01/bin/startManager.sh

Start Nodeagent :
/opt/IBM/WebSphere/AppServer/profiles/Custom01/bin/startNode.sh

Start Server :
/opt/IBM/WebSphere/AppServer/profiles/Custom01/bin/startServer.sh server1

Check for any errors for LDAP etc in the SystemOut logs


Step 17:
 Validation : Now login with the file based registry user ie “wasadmin”

We can see the users from the LDAP and also  wasadmin user from file based repository


tds1


Testing

Test 1: We will add user “santosh”  from the LDAP as a monitor role in WAS  and test it

           a ) Click User and Groups >> Administrative user Roles
Currently only “wasadmin” is available

FederatedRepos32

b )
 Click Add ,

FederatedRepos32

          c ) Select “monitor” Role
Search the users using the Search button , We will be able to see the users from the ldap
Select “santosh” and drag it to the other side

FederatedRepos33
Select OK and Save the configurations

FederatedRepos34
The user “santosh “ is added to the Administrative role as a “monitor” Role

FederatedRepos35Apply and Sync with the nodes

         d )  Now Logout

         e )  Try login with user Santosh and password: password (As mentioned in the LDAP ) 
         f )  We are able to login properly if all the setting are done correctly

FederatedRepos36
           g )  Navigate to other options and you will not see lots of options which were visible in the                            wasadmin login

FederatedRepos37
for eg under Nodes we dont see the options like Full Syncronise , Add etc


Test 2 :
 We will add webadmin this user is from the LDPA we will add it to the admin group

               a)  Click User and Groups >> Administrative user Roles
Currently only “wasadmin” is there
              b )  Click Add ,

              c )  Select “administrator” Role
Search the users using the Search button , We will be able to see the users there
Select “webadmin” and drag it to the other side

FederatedRepos38

Click OK and Save the changes

FederatedRepos39
Apply and Sync with the nodes

          d ) Now Logout

         e )  Try login with user webadmin and password: password (Password from the Ldap) 

FederatedRepos40
         f ) We will see all the options which were available for wasadmin is also available for                     “webadmin“.


This is how we integrate TDS LDAP with Websphere Application Server . Similarly we can integrate any LDAP like Active Directory  etc in a federated Repository .


To get regular mail updates on my Posts..
Please subscribe to the site http://webspherepundit.com
And also like the Facebook Page
https://www.facebook.com/webspherepundit