Activity : High Level Steps for Installation and basic Configuration of Tivoli Directory Server 6.3 on Linux RHEL
Environment : Redhat Linux 5.6 64 Bit.
TDS Version : Tivoli Directory Server 6.3
Software File: tds63-linux-x86-64.iso
Step 1: Login to the Passport Advantage and download the TDS Software “tds63-linux-x86-64.iso”
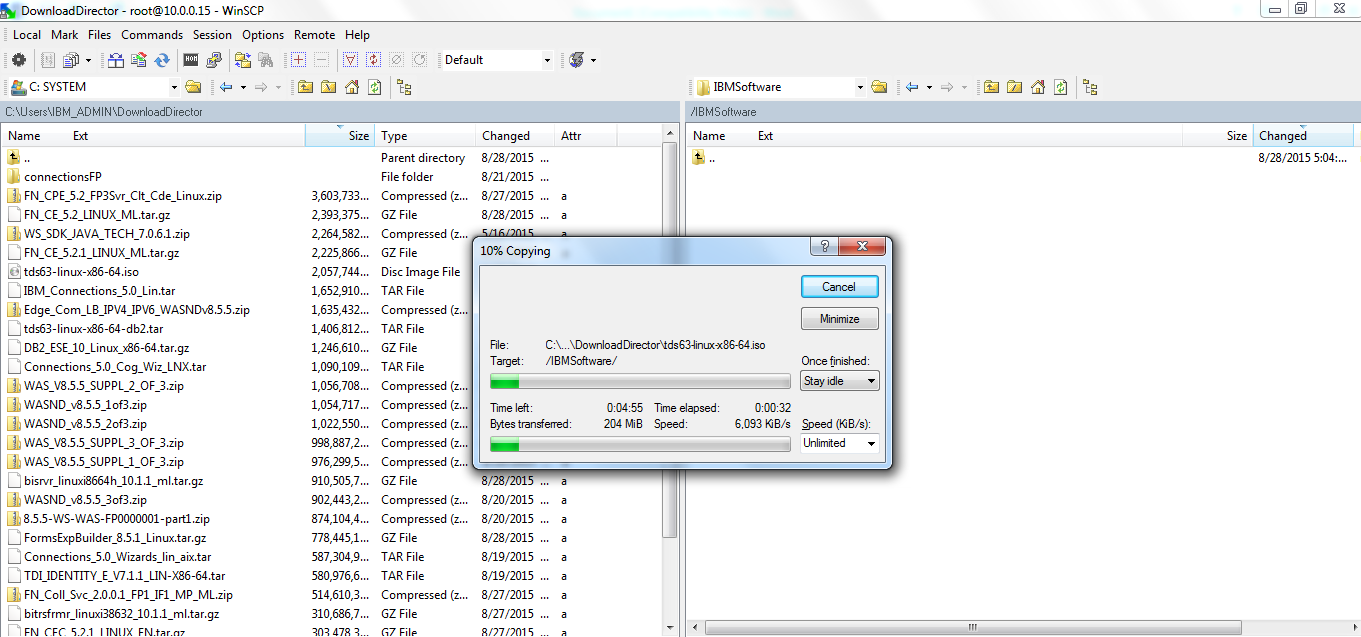
Step 2: Copy the software “tds63-linux-x86-64.iso” to the Linux Server


Login to the TDS Server on the GUI Console or enable X11 forwarding to enable the GUI mode for the installation
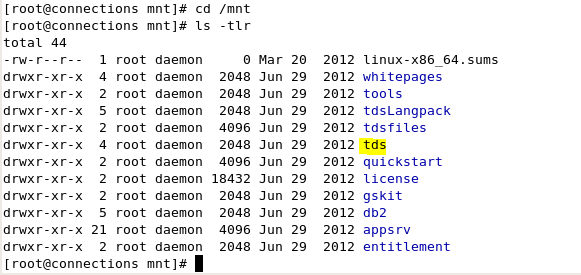
Step 3: Mount the tds63-linux-x86-64.iso as a loop on the /mnt location using mount command
| [root@connections IBMSoftware]# mount -o loop tds63-linux-x86-64.iso /mnt/ |

Step 4 :Navigate to the tds folder in the /mnt
login as: root
[root@connections2 ~]# cd /mnt/
[root@connections2 mnt]# ls -ltr |
Step 5 :Execute the install_tds.bin folder

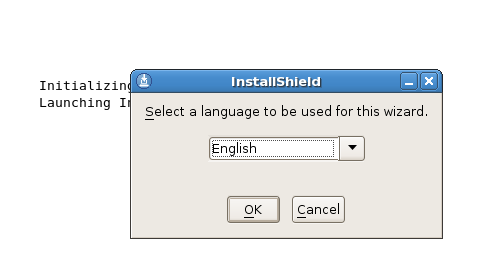
Step 6 : Select the English Language
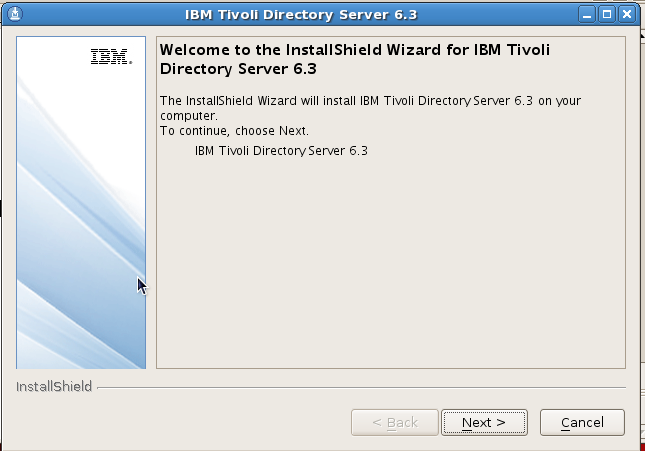
Step 7 :The Install Shield Wizard opens up .. Click Next
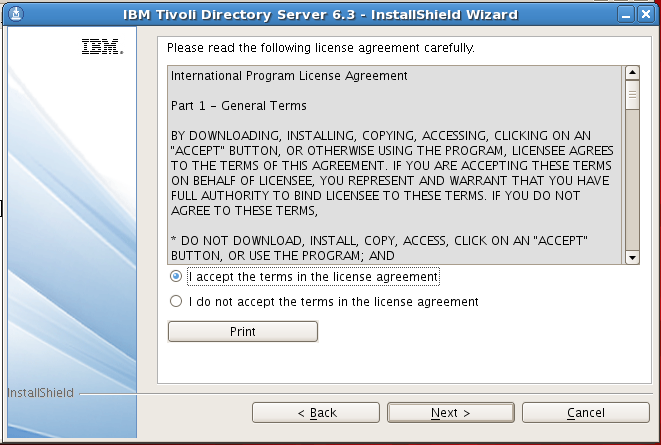
Step 8 : Accept the License
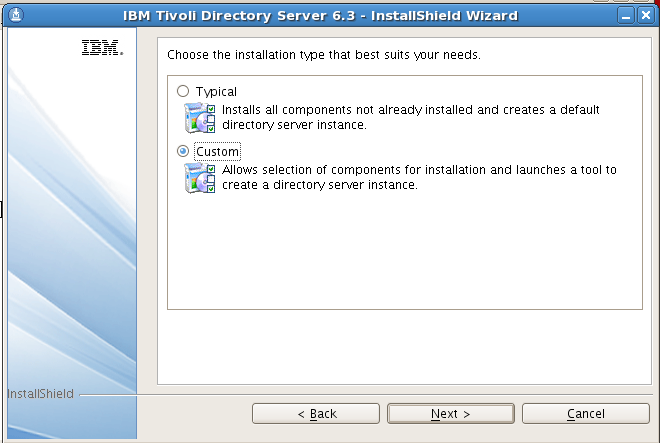
Step 9: Select the “Custom” Option
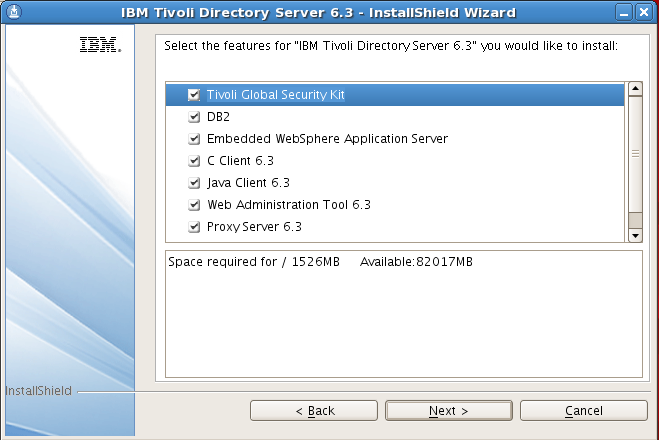
Step 10 : We can select the options available like
DB2 ( It is needed for the TDS . The user details , tree structure etc are all stored in the DB2 Database)
Tivoli Global Security Kit
Embedded Websphere Application Server ( for the Web based administration )
etc
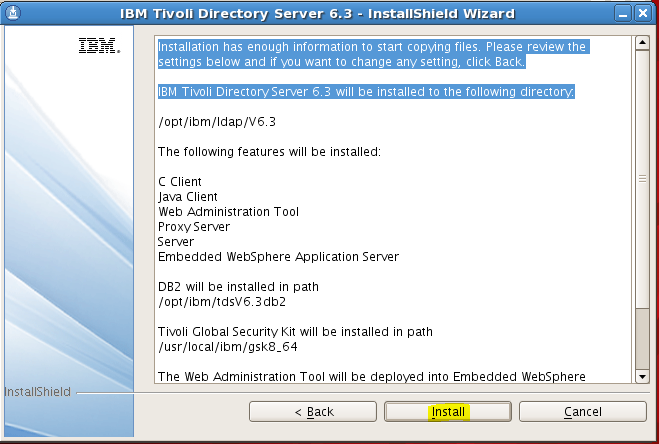
Step 11 :It provides the Summary of the path where the installation of various components would take place .
Click Install
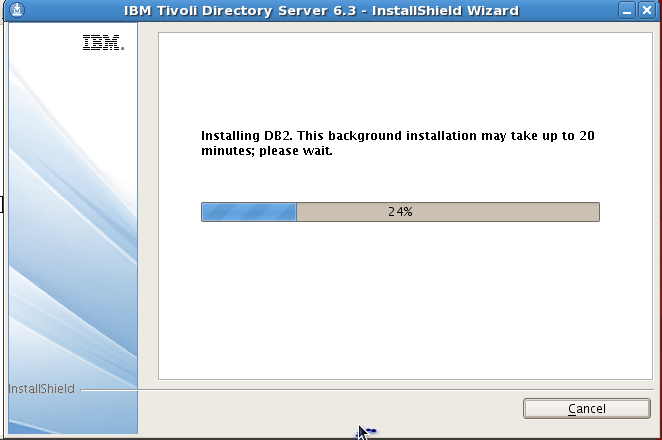
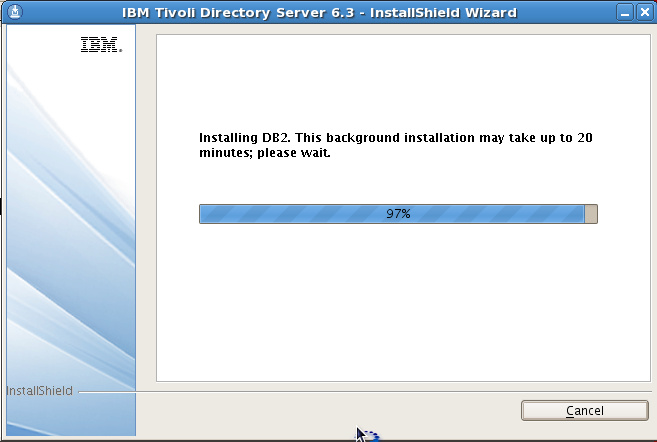
Step 12 : It will take some time . the progress bar will display the components which are getting installed
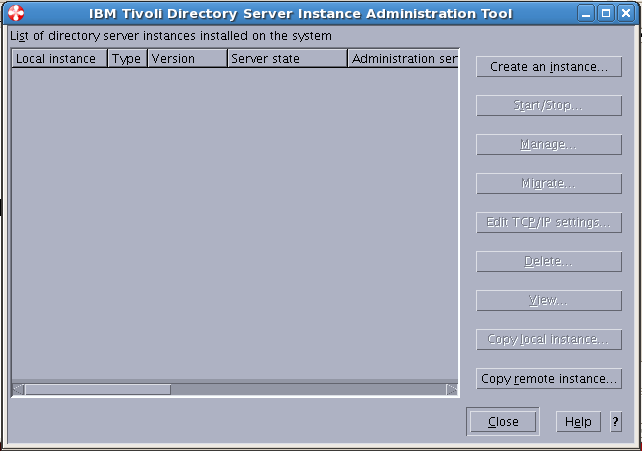
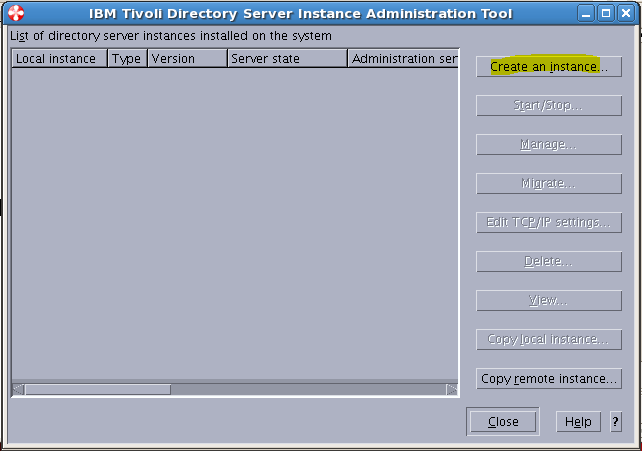
Step 13 :Once the Installation the TDS Instance Administration tool will open up
We need to create a new TDS instance ..
NOTE : you can launch the TDS Instance Administration tool using the idsxinst command too
[root@connections ~]# cd /opt/ibm/ldap/V6.3/sbin/
[root@connections sbin]# ./idsxinst
This tool will create the TDS Instance . Also note that this wizard will also create a DB instance
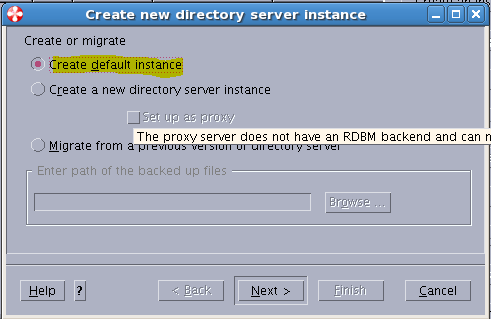
Step 14 :Check “Create the Instance “ Option
Step 15 : We will create a Default Instance
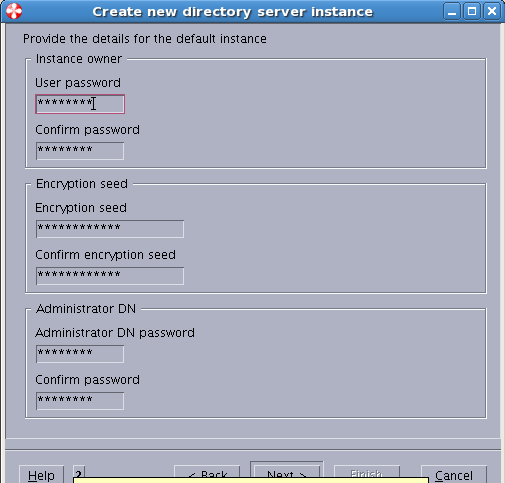
Step 16 : Update the passwords for the instance ( Please set a more complex password )
I have set password as “password”
Encryption seed : qwertyqwerty
Administration DN password : password
Then Click Next
Step 17 :The Default Instance created is “dsrdbm01”
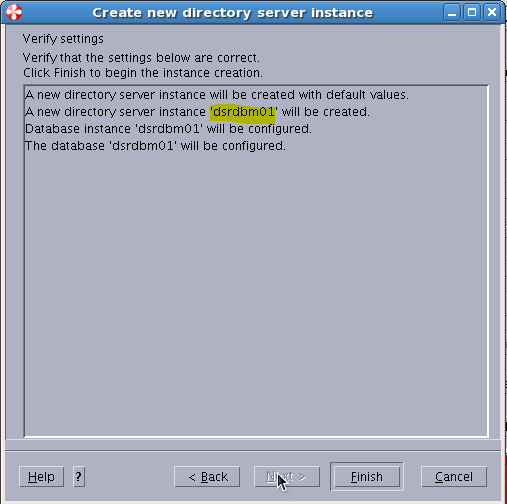
Once done , Click Finish
It would take some time , Be patient ( you could view the logs on the console too )
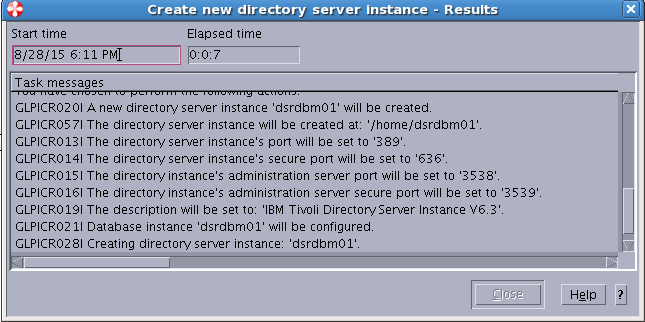
Step 18 :The Task Completed Message would be prompted when its finished
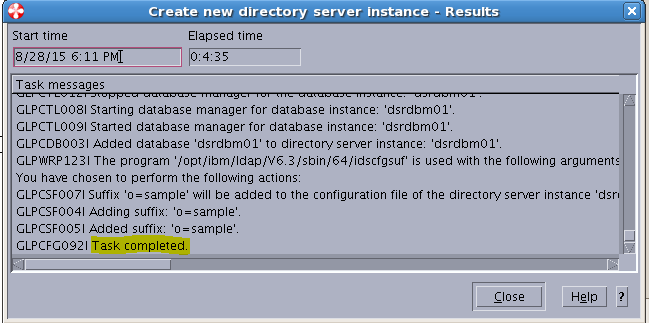
Click Close
Step 19 : We can see the dsrdbm01 Instance Created
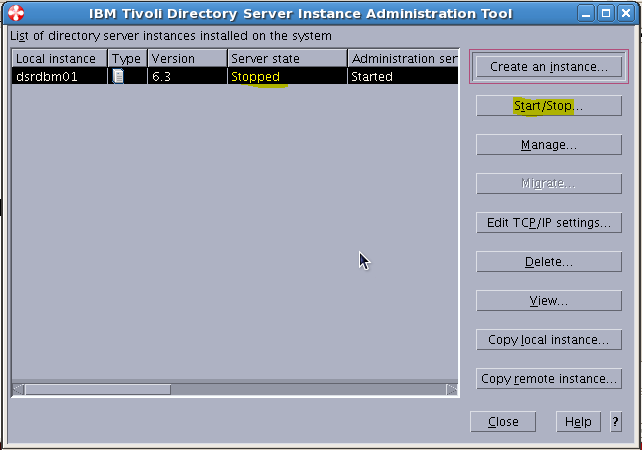
But you need to have X11 forwarding enabled on the Putty or the GUI mode for the Linux
Step 20 :Once the TDS Administration tool is launched
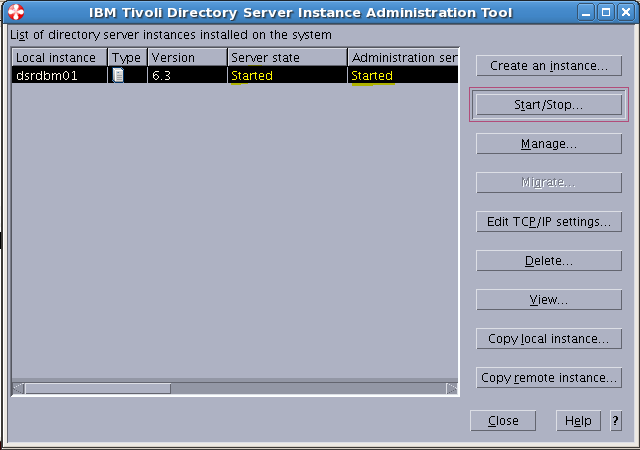
We observe that the TDS Instance Server is stopped state and TDS Administration Server is started state
To start the TDS Instance Server click on “Start/Stop”
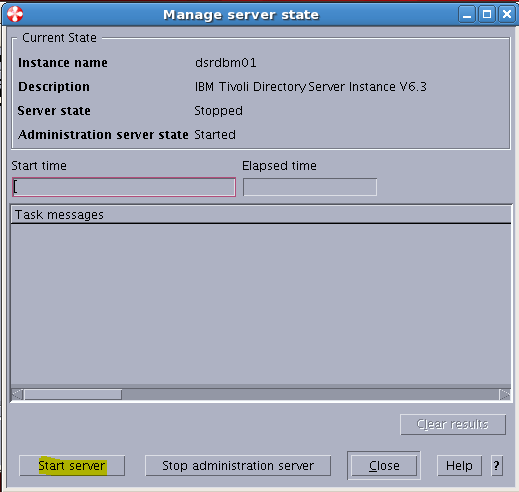
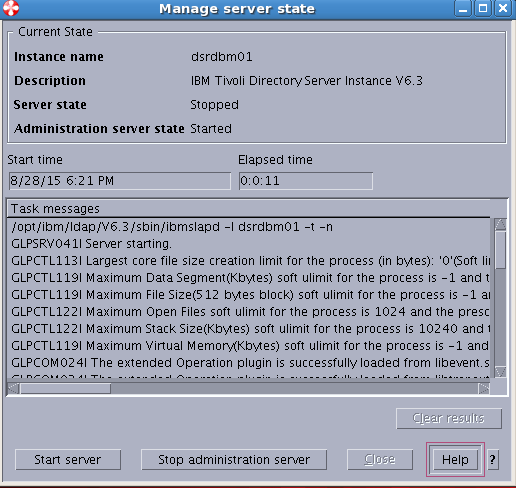
Step 21 :Click the “Start Server” button
Step 22 : To View the details of the ports .. Click the View Button on the TDS Administration tool

Step 23 :To change the TDS Admin password :
In the TDS Administration tool >> Click on Manage
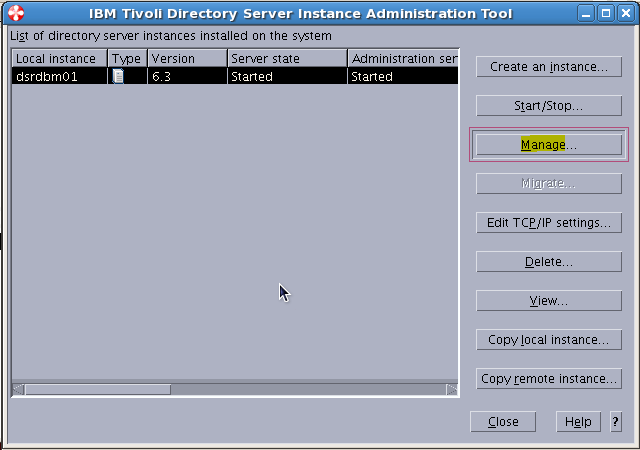
It will launch the TDS Configuration Tool
NOTE : To launch the TDS configuration tool you can navigate to /opt/ibm/ldap/V6.3/sbin/idsxcfg
[root@connections ~]# cd /opt/ibm/ldap/V6.3/sbin/
[root@connections sbin]# ./idsxcfg
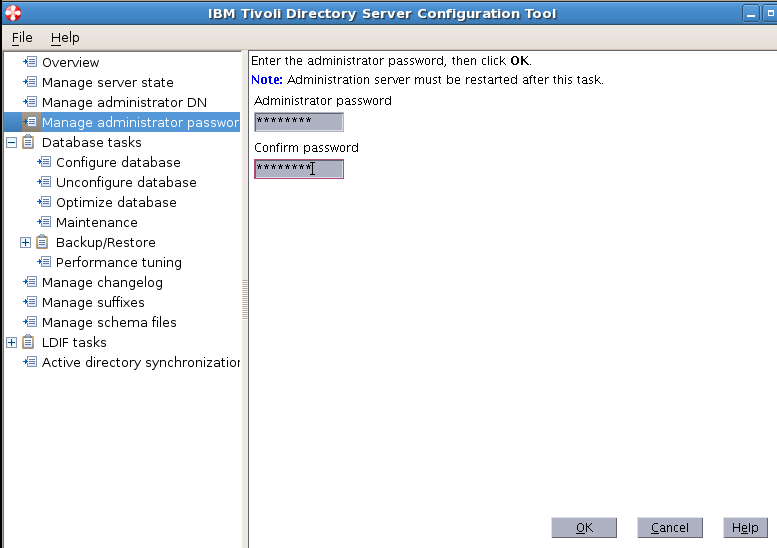
Click on “Manage Administrator password “
Set the password
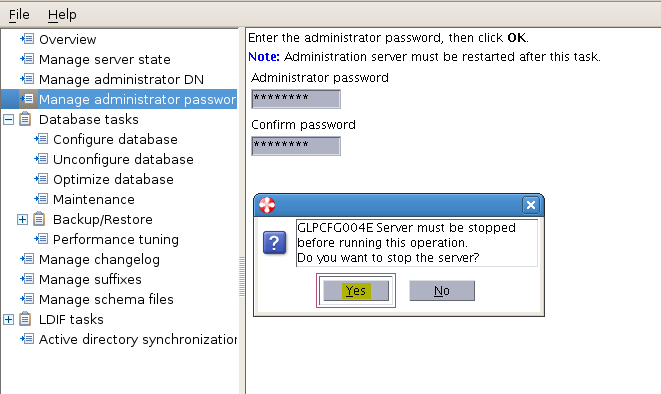
we need to restart the TDS Instance Server which will be prompted
These are the steps to install and create a Tivoli Directory Server Instances
Some Important Commands
Note : In our case “LDAP Install directory” is /opt/ibm/ldap/V6.3/sbin/
a) Starting an instance LDAP Install directory/sbin/idsslapd -I
b) Stopping an instance LDAP Install directory/bin/ibmdirctl stop -h [IP of the Server] -D cn=root -w password
Or
c) Stopping an instance LDAP Install directory/sbin/idsslapd -I -k
d) Checking an instance LDAP Install directory/bin/ibmdirctl status -h localhost -D cn=root -w password
e) Displaying list of instances LDAP Install directory/sbin/idsilist
f) Loading the instance administration tool LDAP Install directory/sbin/idsxinst
g) Loading the configuration tool for an instance LDAP Install directory/sbin/idsxcfg -I
==================================
==================================
Launch WEB Admin Client
Note : Ensure that the Embedded Websphsere Application server was selected during installation .
If you have forgot to select or chose not to install it , it can be done later too ( a post for another time )
Step 1 : Launch the TDS Web App
a) Ensure that the embedded websphere server “server1” is Installed and started
Navigate to /opt/ibm/ldap/V6.3/appsrv/profiles/TDSWebAdminProfile/bin/
To start the webapp ./startServer.sh server1
To stop the webapp ./stopServer.sh server1
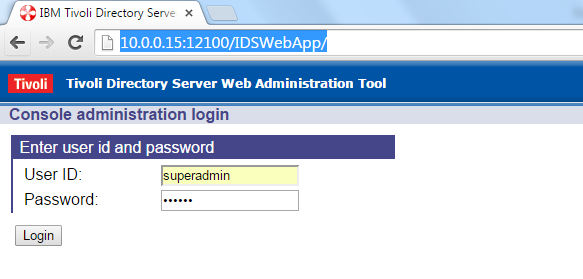
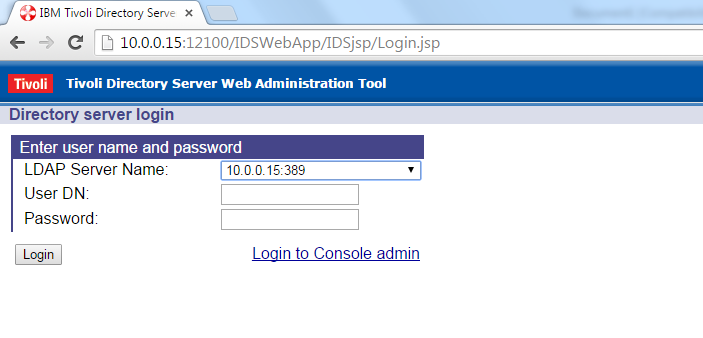
b) Once the server1 is started launch the browser
http://10.0.0.10:12100/IDSWebApp/
These are the default credentials for the IDSWebApp
username : superadmin
password : secret
c) We need to the add the new TDS instance in the WebApp for management
Click on “Manage Console Servers”
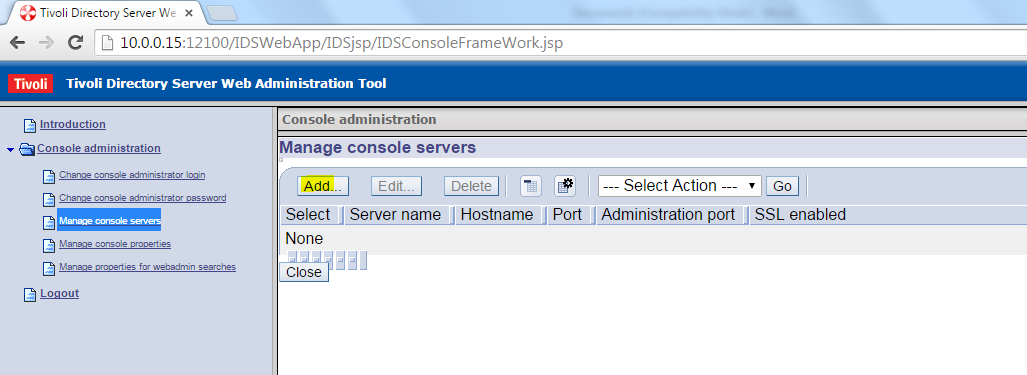
d) Click on “Add”
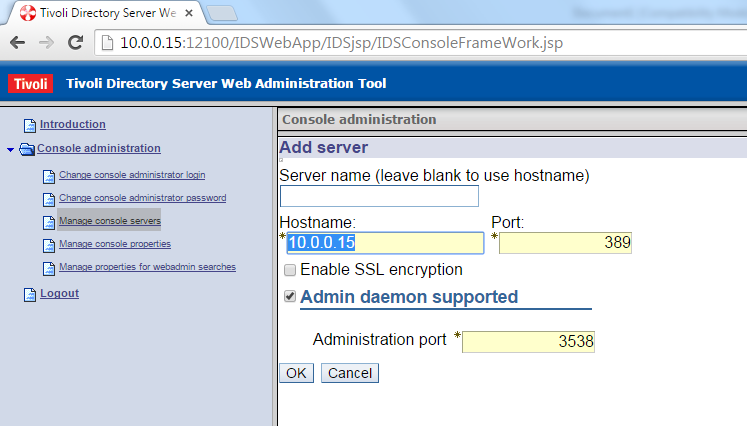
Update the hostname , IP address and the port no of the TDS ( We will get from the TDS Administration Tool)
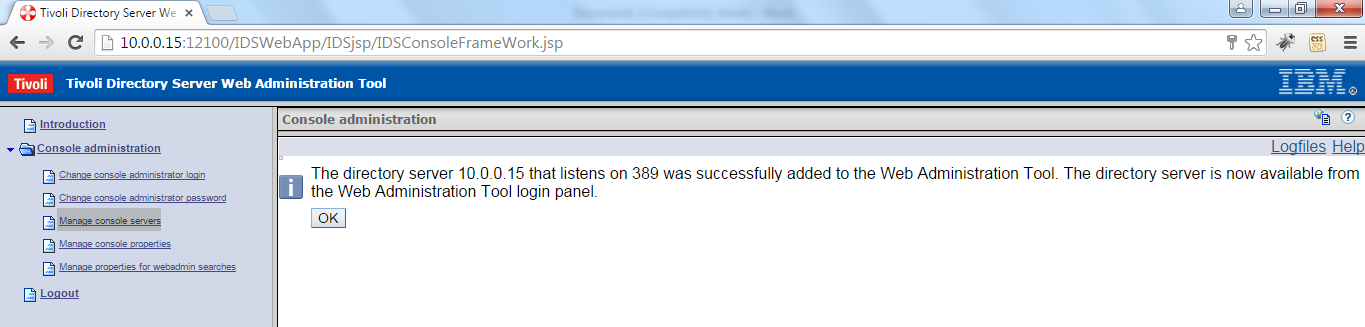

e) Ensure that the TDS instance Server is started ( Steps to start mentioned above )
f) Click Logout
g) Access the url http://10.0.0.10:12100/IDSWebApp/ again now ,
We will see the Node which we have added
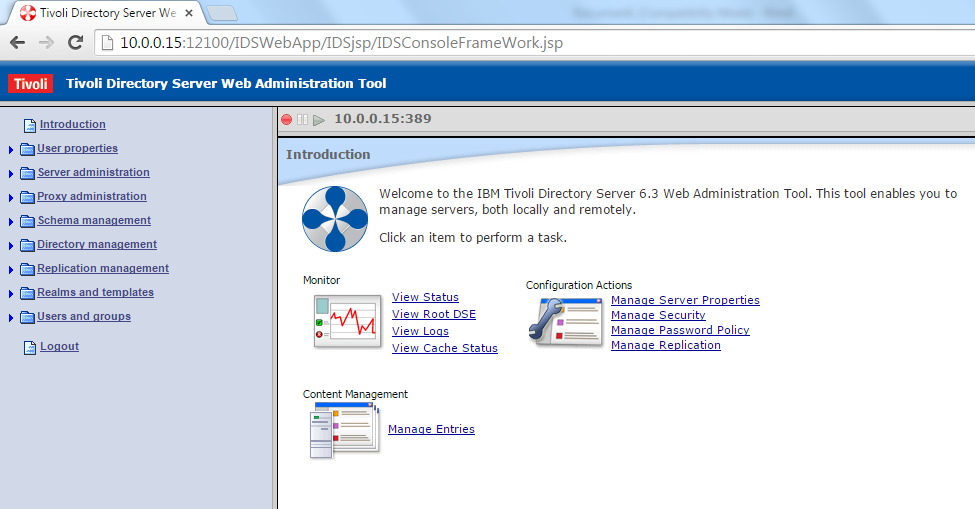
h) Enter the login credentials ie “cn=root” And Password ” passord “ which we have set above

i) From this web console we can manage the TDS instance
==================================
==================================
Adding Suffices to the TDS LDAP
Adding Suffices to the LDAP
a) Launch the TDS Configuration tool ( Ensure that you have X11 forwarding to enable the GUI Mode ”
[root@connections sbin]# cd /opt/ibm/ldap/V6.3/sbin/
[root@connections sbin]# ./idsxcfg |

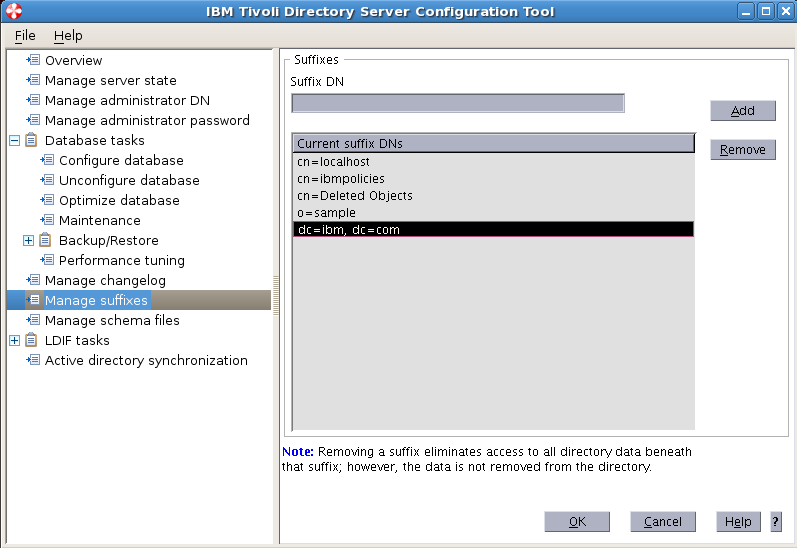
b) Click on Manage Suffixes
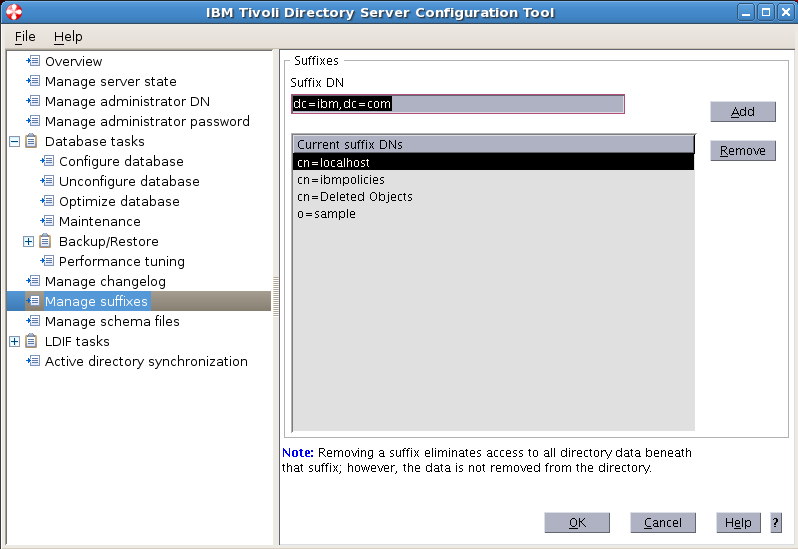
Enter dc=ibm,dc=com ( you can provide your own suffices like dc=myorg,dc=com )
Click Add
c ) We need to create an ldif files which contains the users and groups
Suffix : dc=ibm,dc=com
create a file createUser.ldif
[root@connections V6.3]# vi /opt/ibm/ldap/V8.3/createuser.ldif
you can refer to for sample from the links below
Sample ldif file — 1 for suffix dc=ibm,dc=com
or
Sample ldif file — 2 for suffix dc=myorg,dc=com
d ) We need to import the ldif files
Click on “Import LDIF Data”
Browse the createUser.ldif file
Click Import
If there is any errors in the ldif file it will only load the once which are proper . The duplicate once or the error once will not be loaded
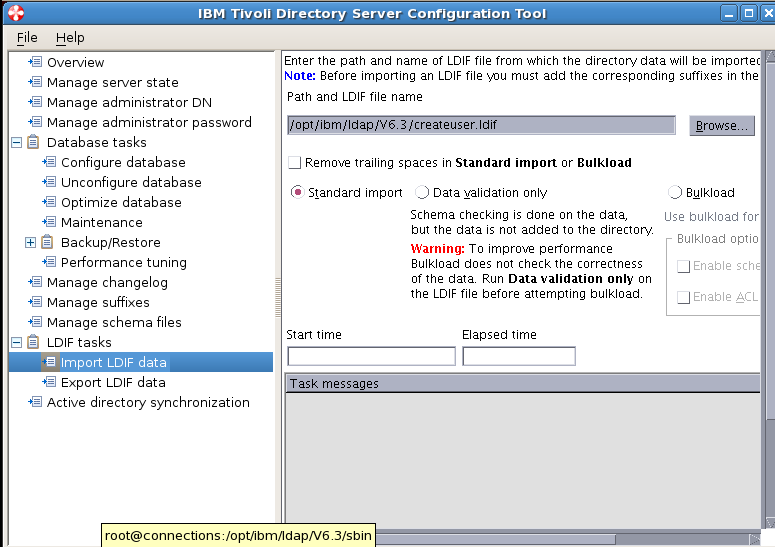
It will require the TDS Instance to be stopped .
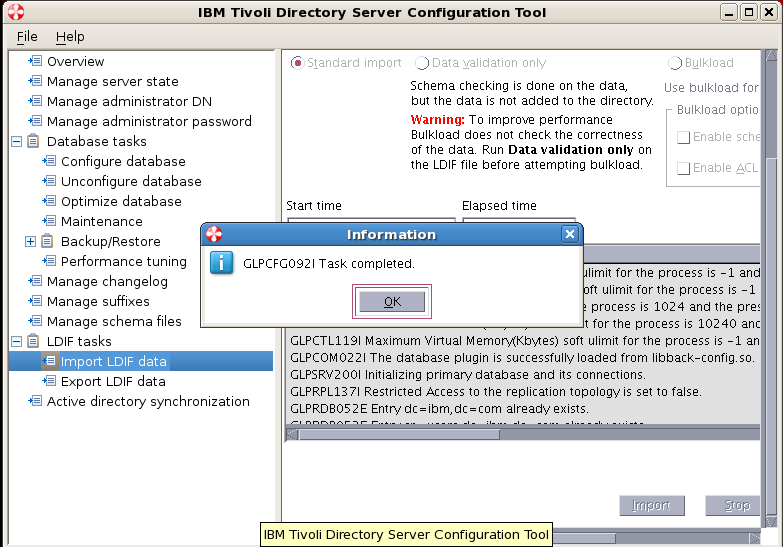
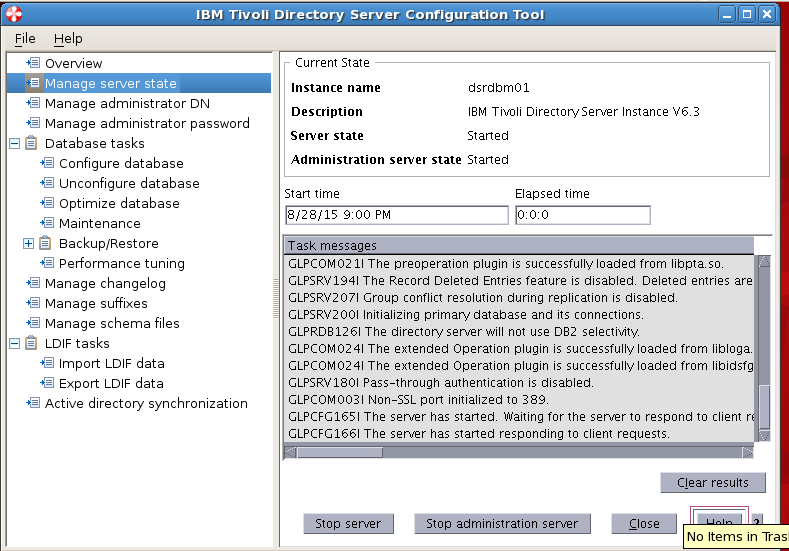
e ) Once the import is completed then start the TDS Instance server
Navigate to Manage server state >> Start Server
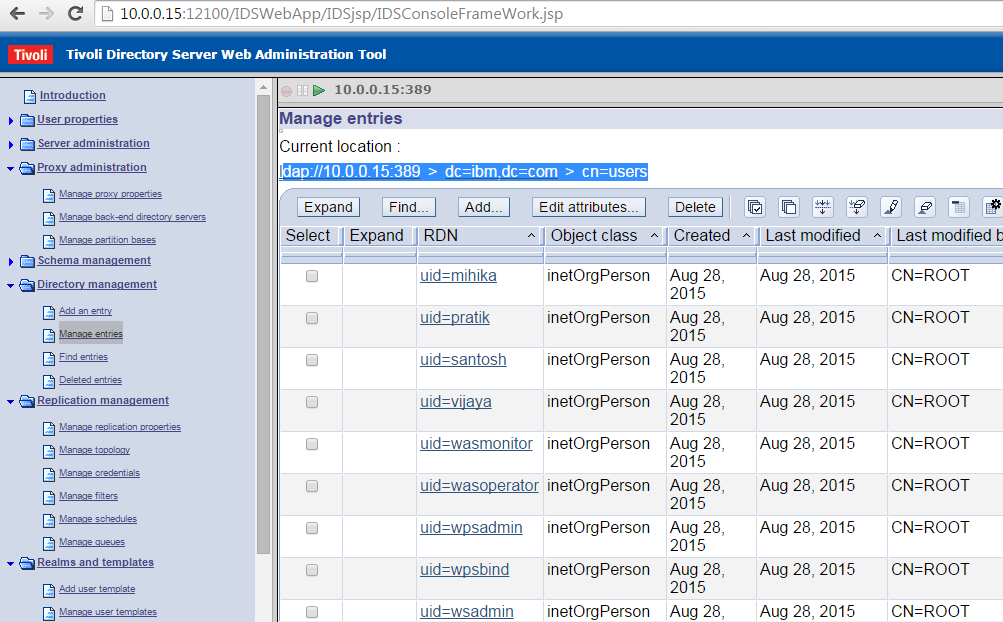
f ) Validate the imported users in the TDS using the TDS WebApp console
Login to the TDS WebApp console
To validate the import of the users
http://10.0.0.10:12100/IDSWebApp
Click on the “Mange entries”
We will see all the users which are loaded from the ldif file .
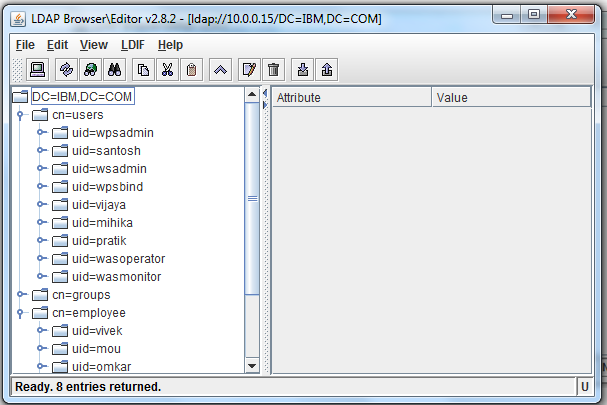
g) Validating using ldap Browsers
You can use any other Directory browsers avaliable
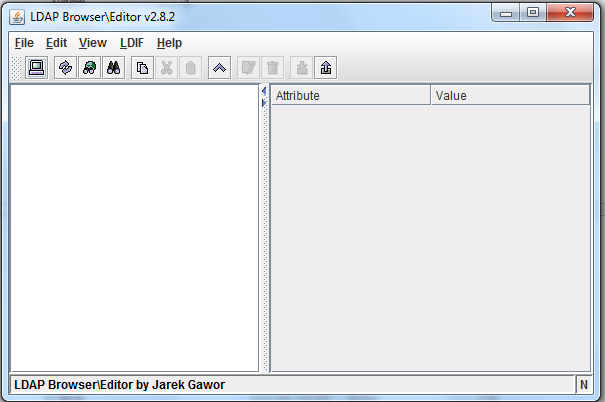
1) Extract the Ldap Browser Utility and Launch the lbe.jar

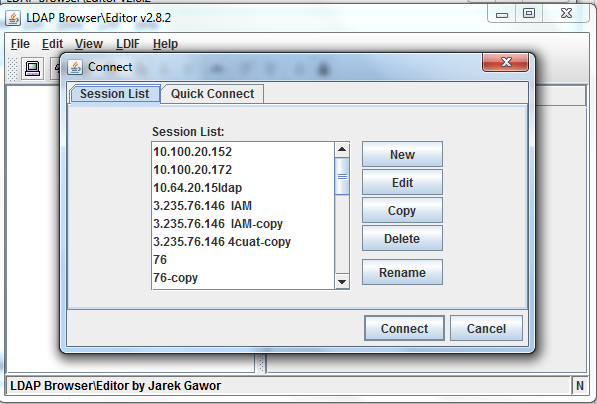
2) Click on File >> New
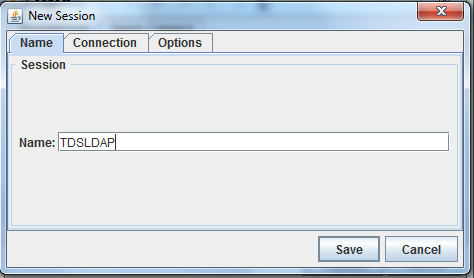
3) Enter a Session Name : I have entered it TDSLDAP
4) Go to connections tab
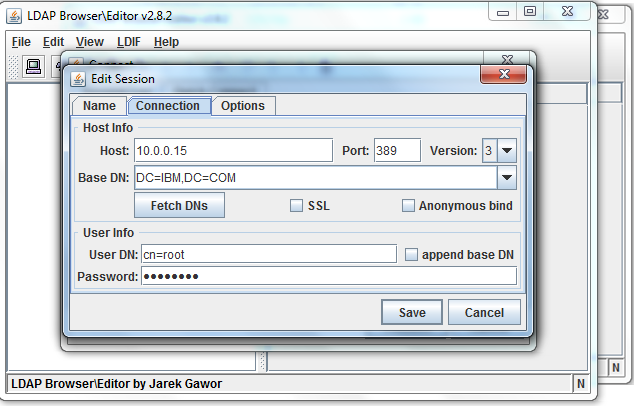
1) Enter the IP Address, Port No and click Get suffix .
2) Select dc=ibm,dc=com
3) Uncheck Anonymous login
4) Enter username cn=root and password = password
5) Click Save
5) We will see all the users which are populated in the console
These are the highlevel steps to start and have a running Tivoli Directory Server LDAP 6.3 quickly.
You can customize and change the configs as per your requirement.