Below are the highlevel steps to install Websphere application server 8.5 ( you can customize it based on your requirement)
OS : Red Hat Enterprise Linux
Step1 : Download WAS 8.5 multiple platform from passport Advantage or use the media
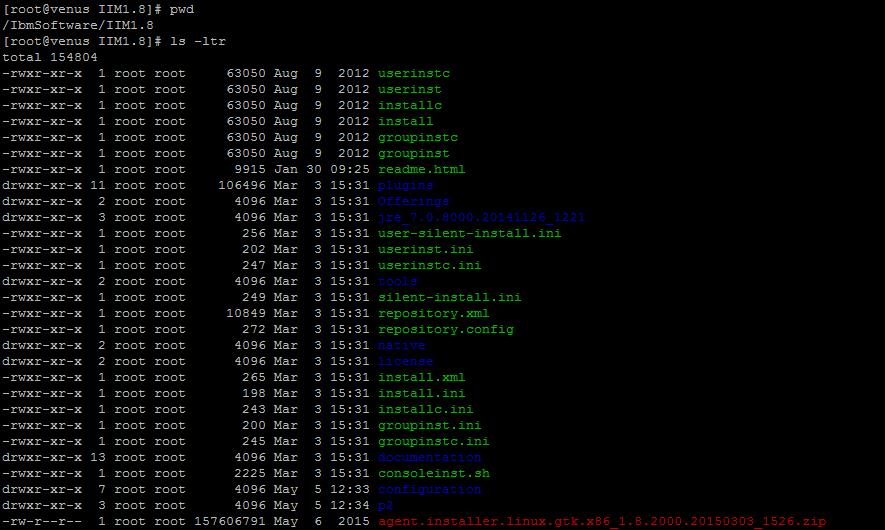
Step 2: Unpack the images
Ensure there is sufficient space in the filesystem where you are extracting
You can use $df -h command to check the filesystem usage
a) For IBM Installation Manager
$ mkdir /tmp/IIM
$ cd /tmp/IIM
$ unzip /mnt/was/Software/WAS85/InstalMgr1.5.2_LNX_X86_WAS_8.5.zip
b) WAS 8.5 ( including ND, Supplements and SDK )
$ mkdir /tmp/WAS85
$ cd /tmp/WAS85
$ unzip /mnt/was/Software/WAS85/WAS_ND_V8.5_1_OF_3.zip
$ unzip /mnt/was/Software/WAS85/WAS_ND_V8.5_2_OF_3.zip
$ unzip /mnt/was/Software/WAS85/WAS_ND_V8.5_3_OF_3.zip
Here I have extracted the 3 zip files for WAS ND
Step 3: Set up the hard and soft file limits
$ vi /etc/security/limits.conf
Append: –
* soft nofile 65535
* hard nofile 65535
This may vary based on the OS . Refer the infocenter for more details
Step 4: Check the OS pre-requisites
a ) Refer the infocenter for more details
b ) The Installation manager would required the pre-requisite Linux libraries and RPMs.
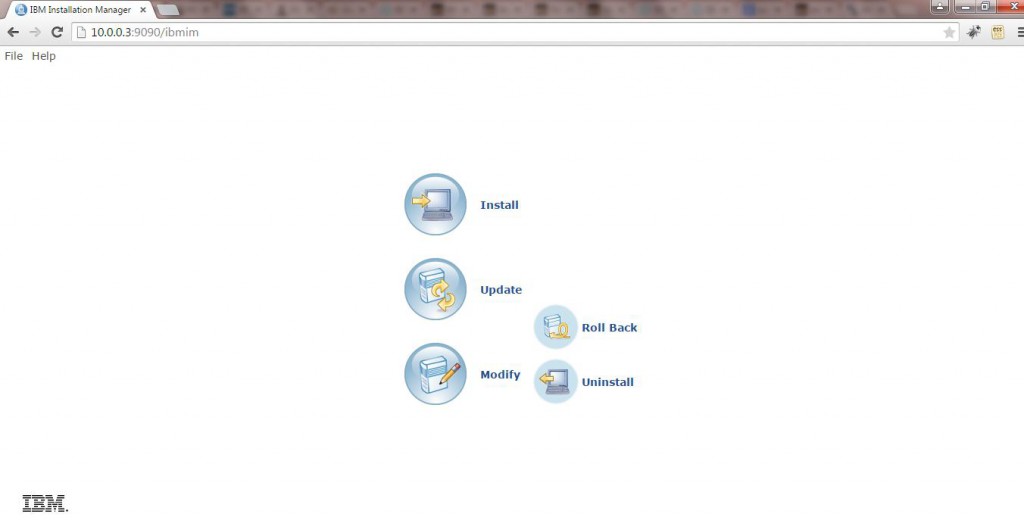
Step 5: Install IBM Installation Manager (IIM)
$ cd /tmp/IIM/
$ ./installc -acceptLicense -nosplash
This will install IIM using the console option
Step 6: Check IIM version
$ /opt/IBM/InstallationManager/eclipse/IBMIM -version -silent -nosplash
Installation Manager (installed)
Version: 1.5.2
Internal Version: 1.5.2000.20120223_0907
Step 7: Record the Response File
$ /opt/IBM/InstallationManager/eclipse/IBMIM -record ~/install_WAS85.rsp -skipInstall /tmp
NOTE: I added the currently available set of WAS 8.5 iFixes: –
-rwxr-xr-x 1 501 games 205117 Oct 3 13:20 8.5.0.0-ws-was-ifpm62795.zip
-rwxr-xr-x 1 501 games 304065 Oct 3 13:20 8.5.0.0-ws-was-ifpm63690.zip
-rwxr-xr-x 1 501 games 251862 Oct 3 13:20 8.5.0.0-ws-was-ifpm63827.zip
-rw-r–r– 1 501 games 300831 Oct 3 13:20 8.5.0.0-ws-was-ifpm71296.zip
-rw-r–r– 1 501 games 1561566 Oct 3 13:20 8.5.0.0-ws-wasihs-multios-ifpm72915.zip
-rwxr-xr-x 1 501 games 2252798 Oct 3 13:20 8.5.0.0-ws-wasnd-distexceptibmi-ifpm64890.zip
-rw-r–r– 1 501 games 437441 Oct 3 13:20 8.5.0.0-ws-wasnd-distexceptibmi-ifpm66137.zip
-rwxr-xr-x 1 501 games 227880 Oct 3 13:20 8.5.0.0-ws-wasprod-ifpm64186.zip
-rwxr-xr-x 1 501 games 235550 Oct 3 13:20 8.5.0.0-ws-wasprod-multios-ifpm63479.zip
and that the code was located in /tmp/WAS85 and the iFixes were located in /tmp/WAS85/Fixes.
which results in: –
=================install_WAS85.rsp=======================================
<?xml version=”1.0″ encoding=”UTF-8″?>
<!–The “acceptLicense” attribute has been deprecated. Use “-acceptLicense” command line option to accept license agreements.–>
<agent-input acceptLicense=’true’>
<server>
<repository location=’/tmp/WAS85’/>
<repository location=’/tmp/WAS85/Fixes/8.5.0.0-ws-was-ifpm62795.zip’/>
<repository location=’/tmp/WAS85/Fixes/8.5.0.0-ws-was-ifpm63690.zip’/>
<repository location=’/tmp/WAS85/Fixes/8.5.0.0-ws-was-ifpm63827.zip’/>
<repository location=’/tmp/WAS85/Fixes/8.5.0.0-ws-was-ifpm71296.zip’/>
<repository location=’/tmp/WAS85/Fixes/8.5.0.0-ws-wasihs-multios-ifpm72915.zip’/>
<repository location=’/tmp/WAS85/Fixes/8.5.0.0-ws-wasnd-distexceptibmi-ifpm64890.zip’/>
<repository location=’/tmp/WAS85/Fixes/8.5.0.0-ws-wasnd-distexceptibmi-ifpm66137.zip’/>
<repository location=’/tmp/WAS85/Fixes/8.5.0.0-ws-wasprod-ifpm64186.zip’/>
<repository location=’/tmp/WAS85/Fixes/8.5.0.0-ws-wasprod-multios-ifpm63479.zip’/>
</server>
<profile id=’IBM WebSphere Application Server V8.5′ installLocation=’/opt/IBM/WebSphere/AppServer‘>
<data key=’eclipseLocation’ value=’/opt/IBM/WebSphere/AppServer‘/>
<data key=’user.import.profile’ value=’false’/>
<data key=’cic.selector.os’ value=’linux’/>
<data key=’cic.selector.arch’ value=’x86’/>
<data key=’cic.selector.ws’ value=’gtk’/>
<data key=’cic.selector.nl’ value=’en’/>
</profile>
<install modify=’false’>
<offering id=’8.5.0.0-WS-WAS-IFPM62795′ version=’8.5.0.20120503_1150′ profile=’IBM WebSphere Application Server V8.5′ features=’-‘/>
<offering id=’8.5.0.0-WS-WAS-IFPM63690′ version=’8.5.0.20120611_1318′ profile=’IBM WebSphere Application Server V8.5′ features=’-‘/>
<offering id=’8.5.0.0-WS-WAS-IFPM63827′ version=’8.5.0.20120503_1507′ profile=’IBM WebSphere Application Server V8.5′ features=’-‘/>
<offering id=’8.5.0.0-WS-WASND-DistExceptIBMi-IFPM64890′ version=’8.5.0.20120608_1634′ profile=’IBM WebSphere Application Server V8.5′ features=’-‘/>
<offering id=’8.5.0.0-WS-WASND-DistExceptIBMi-IFPM66137′ version=’8.5.0.20120615_0733′ profile=’IBM WebSphere Application Server V8.5′ features=’-‘/>
<offering id=’8.5.0.0-WS-WASProd-IFPM64186′ version=’8.5.0.20120611_1543′ profile=’IBM WebSphere Application Server V8.5′ features=’-‘/>
<offering id=’8.5.0.0-WS-WASProd-MultiOS-IFPM63479′ version=’8.5.0.20120613_2056′ profile=’IBM WebSphere Application Server V8.5′ features=’-‘/>
<offering id=’com.ibm.websphere.ND.v85′ version=’8.5.0.20120501_1108′ profile=’IBM WebSphere Application Server V8.5′ features=’core.feature,ejbdeploy,thinclient,embeddablecontainer,com.ibm.sdk.6_64bit,samples,liberty’ installFixes=’none’/>
</install>
<preference name=’com.ibm.cic.common.core.preferences.eclipseCache’ value=’/opt/IBM/IMShared‘/>
<preference name=’com.ibm.cic.common.core.preferences.connectTimeout’ value=’30’/>
<preference name=’com.ibm.cic.common.core.preferences.readTimeout’ value=’45’/>
<preference name=’com.ibm.cic.common.core.preferences.downloadAutoRetryCount’ value=’0’/>
<preference name=’offering.service.repositories.areUsed’ value=’true’/>
<preference name=’com.ibm.cic.common.core.preferences.ssl.nonsecureMode’ value=’false’/>
<preference name=’com.ibm.cic.common.core.preferences.http.disablePreemptiveAuthentication’ value=’false’/>
<preference name=’http.ntlm.auth.kind’ value=’NTLM’/>
<preference name=’http.ntlm.auth.enableIntegrated.win32′ value=’true’/>
<preference name=’com.ibm.cic.common.core.preferences.preserveDownloadedArtifacts’ value=’true’/>
<preference name=’com.ibm.cic.common.core.preferences.keepFetchedFiles’ value=’false’/>
<preference name=’PassportAdvantageIsEnabled’ value=’false’/>
<preference name=’com.ibm.cic.common.core.preferences.searchForUpdates’ value=’false’/>
<preference name=’com.ibm.cic.agent.ui.displayInternalVersion’ value=’false’/>
<preference name=’com.ibm.cic.common.sharedUI.showErrorLog’ value=’true’/>
<preference name=’com.ibm.cic.common.sharedUI.showWarningLog’ value=’true’/>
<preference name=’com.ibm.cic.common.sharedUI.showNoteLog’ value=’true’/>
</agent-input>
=================install_WAS85.rsp=======================================
This results in creating the above response file in the path mentioned.
NOTE: If you want to change the Installation to alternative path we can change the installLocation and eclipseLocation
—Before rsp File —————–
<profile id=’IBM WebSphere Application Server V8.5′ installLocation=’/opt/IBM/WebSphere/AppServer‘>
<data key=’eclipseLocation’ value=’/opt/IBM/WebSphere/AppServer‘/>
<preference name=’com.ibm.cic.common.core.preferences.eclipseCache’ value=’/opt/IBM/IMShared‘/>
—Before rsp File —————–
For Eg :
a) WAS to be installed in /apps/WAS85 instead of /opt/IBM/WebSphere/AppServer
b) Shared location from /opt/IBM/IMShared to /apps/IMShared
—After Changes rsp File —————–
<profile id=’IBM WebSphere Application Server V8.5′ installLocation=’/apps/WAS85‘>
<data key=’eclipseLocation’ value=’/apps/WAS85‘/>
<preference name=’com.ibm.cic.common.core.preferences.eclipseCache’ value=’/apps/IMShared‘/>
—After Changes rsp File —————–
Step 8: Perform the installation
$ /opt/IBM/InstallationManager/eclipse/IBMIM -input ~/install_WAS85.rsp -log install_WAS85.log -silent -nosplash -acceptLicense
After some time you will see the result as
Installed 8.5.0.0-WS-WAS-IFPM62795_8.5.0.20120503_1150 to the /opt/IBM/WebSphere/AppServer directory.
Installed 8.5.0.0-WS-WAS-IFPM63690_8.5.0.20120611_1318 to the /opt/IBM/WebSphere/AppServer directory.
Installed 8.5.0.0-WS-WAS-IFPM63827_8.5.0.20120503_1507 to the /opt/IBM/WebSphere/AppServer directory.
Installed 8.5.0.0-WS-WASND-DistExceptIBMi-IFPM64890_8.5.0.20120608_1634 to the /opt/IBM/WebSphere/AppServer directory.
Installed 8.5.0.0-WS-WASND-DistExceptIBMi-IFPM66137_8.5.0.20120615_0733 to the /opt/IBM/WebSphere/AppServer directory.
Installed 8.5.0.0-WS-WASProd-IFPM64186_8.5.0.20120611_1543 to the /opt/IBM/WebSphere/AppServer directory.
Installed 8.5.0.0-WS-WASProd-MultiOS-IFPM63479_8.5.0.20120613_2056 to the /opt/IBM/WebSphere/AppServer directory.
Installed com.ibm.websphere.ND.v85_8.5.0.20120501_1108 to the /opt/IBM/WebSphere/AppServer directory.
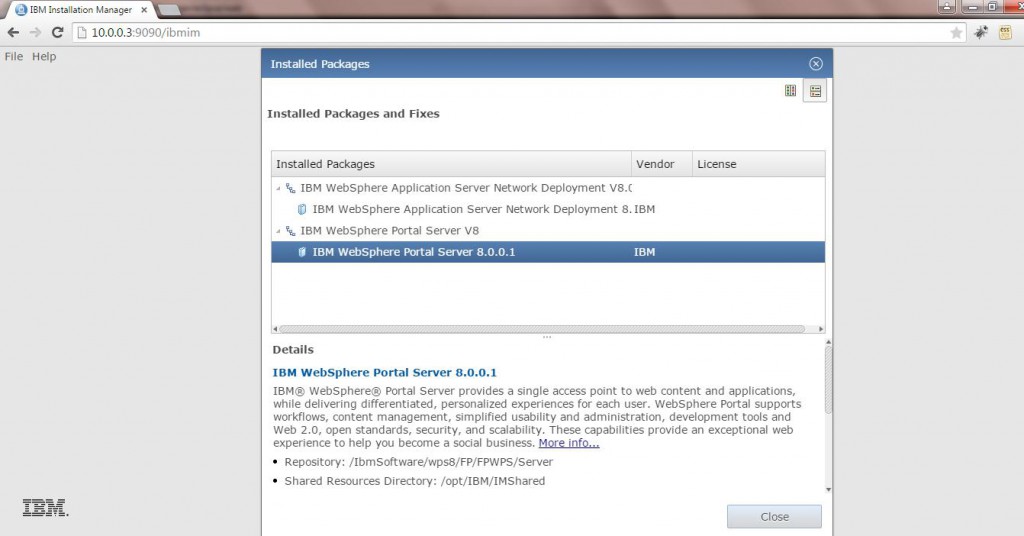
Step 9: Validate the installation
$ /opt/IBM/WebSphere/AppServer/bin/versionInfo.sh
WVER0010I: Copyright (c) IBM Corporation 2002, 2012; All rights reserved.
WVER0012I: VersionInfo reporter version 1.15.1.48, dated 2/8/12
——————————————————————————–
IBM WebSphere Product Installation Status Report
——————————————————————————–
Report at date and time October 3, 2012 3:16:37 PM BST
Installation
——————————————————————————–
Product Directory /opt/IBM/WebSphere/AppServer
Version Directory /opt/IBM/WebSphere/AppServer/properties/version
DTD Directory /opt/IBM/WebSphere/AppServer/properties/version/dtd
Log Directory /var/ibm/InstallationManager/logs
Product List
——————————————————————————–
ND installed
Installed Product
——————————————————————————–
Name IBM WebSphere Application Server Network Deployment
Version 8.5.0.0
ID ND
Build Level gm1218.01
Build Date 5/1/12
Package com.ibm.websphere.ND.v85_8.5.0.20120501_1108
Architecture x86-64 (64 bit)
Installed Features IBM 64-bit WebSphere SDK for Java
WebSphere Application Server Full Profile
EJBDeploy tool for pre-EJB 3.0 modules
Embeddable EJB container
WebSphere Application Server Liberty Profile
Sample applications
Stand-alone thin clients and resource adapters
——————————————————————————–
End Installation Status Report
——————————————————————————–
b) You can also check the folders to ensure that the files are created in the location /opt/IBM/WebSphere/AppServer
Step 10: You can create the profiles now as required using PMT or manageprofile.sh
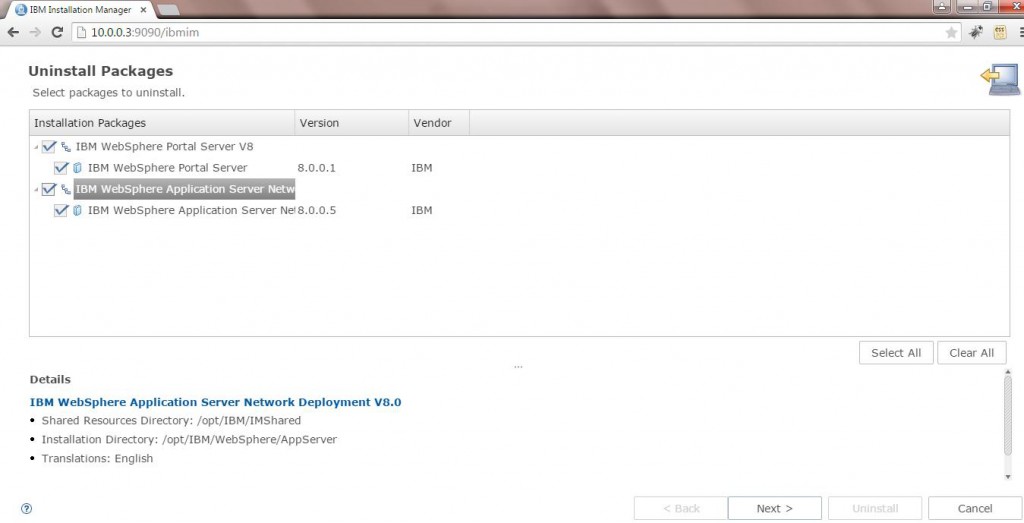
NOTE : you can use the similar steps to silently Install Websphere 8.0 also
