Tag Archive | dmgr

Step by Step: High Availability & Fault Tolerance of Deployment Manager using NFS on Linux

The DETAILED STEPS can be downloaded from the below link

http://webspherepundit.com/wp-content/uploads/2016/08/High-Availability-Fault-Tolerance-of-the-Deployment-Manager-using-NFS-on-Linux.pdf


Abstract:

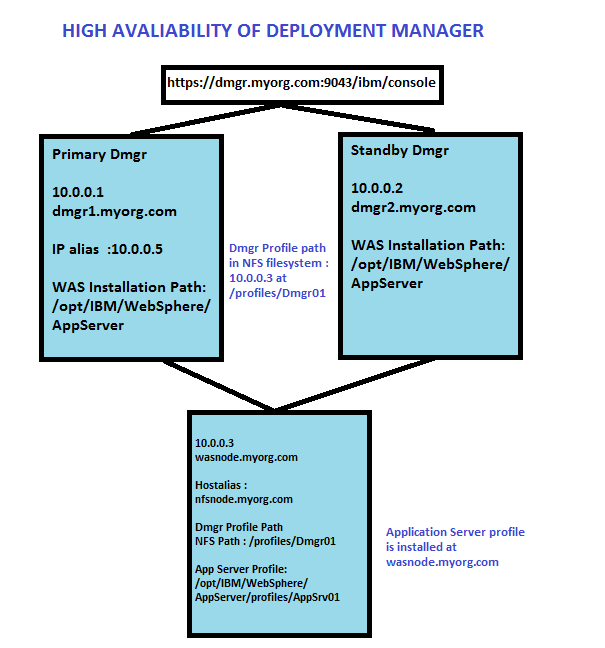
  • For this exercise a shared filesystem will be created using NFS 4 on which the dmgr profile will be created.
  • This filesystem would be mounted on both the Primary and secondary dmgr servers.
  • Ip alias and host alias would be used during the creation of dmgrs profiles
  • The Ip alias will be active only on one Dmgr at a time either primary or standby depending on the situation of failover or failback.
  • The dmgr process will be running on the node which hosts the ip alias .

NOTE : I have used NFS4 to simulate this scenario .. but in a productions env you could use SAN storage or any similar Technology . Also for the clustering it can be setup using any other OS based clustering available like POWER HA or RHEL Clustering etc

Env Diagram :

WebSphere Version: 8.5.5.0
OS : RHEL 6.5

dmgrHA1

Highlevel Steps :

Step1 : Install and configure NFS 4 on the Server which will hold the Dmgr profile
Step2 : Create the Shared Filesystem for Dmgr profiles on the NFS Server
Step3: Mount shared filesystem on Primary Dmgr : dmgr1.myorg.com  (10.0.0.1)
Step4: Mount shared filesystem on Standby Dmgr : dmgr2.myorg.com  (10.0.0.2)
Step5: Set Ip Alias on the Primary ie dmgr1.myorg.com (10.0.0.1)
Step6: Install WebSphere Application Server on the Primary Dmgr ie dmgr1.myorg.com (10.0.0.1)
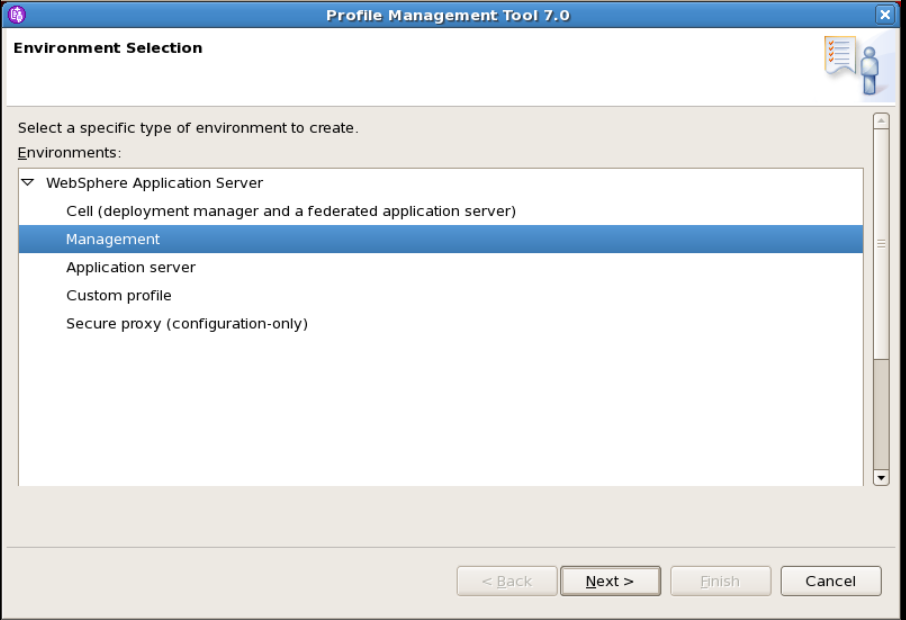
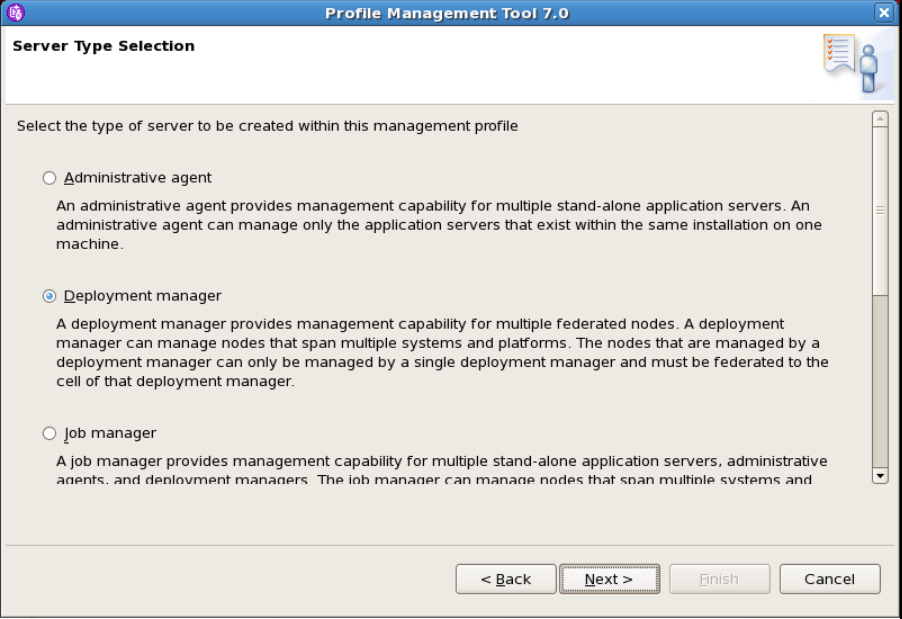
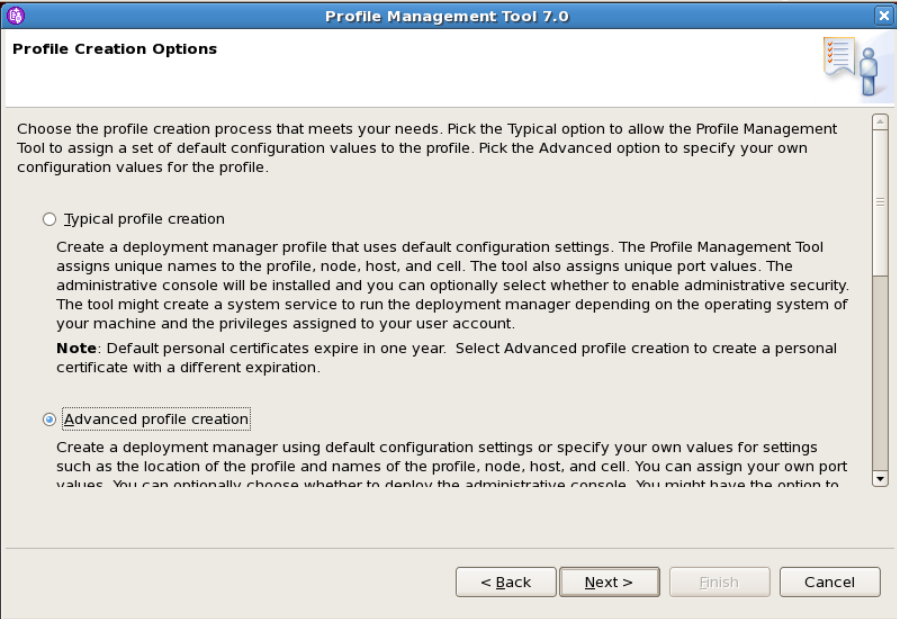
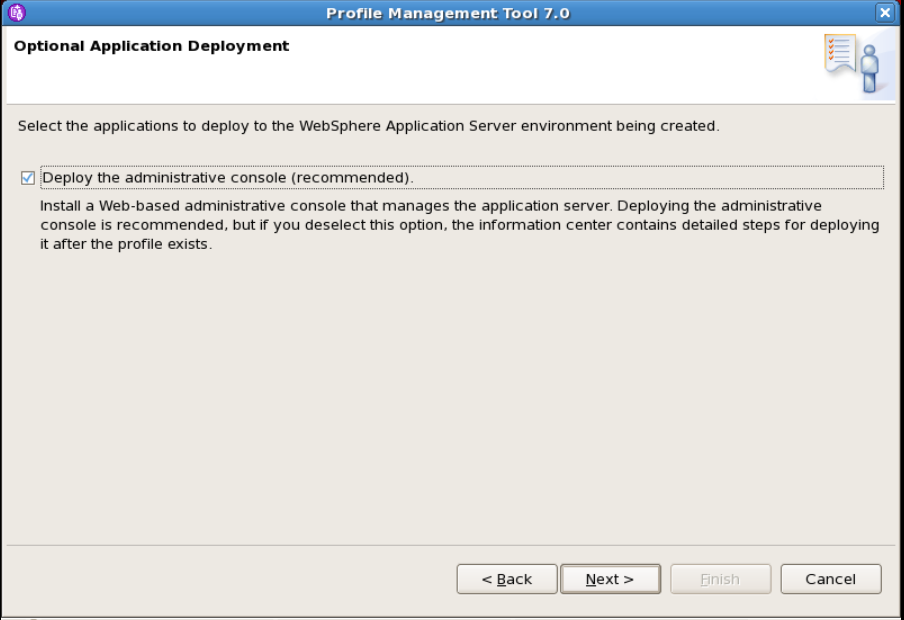
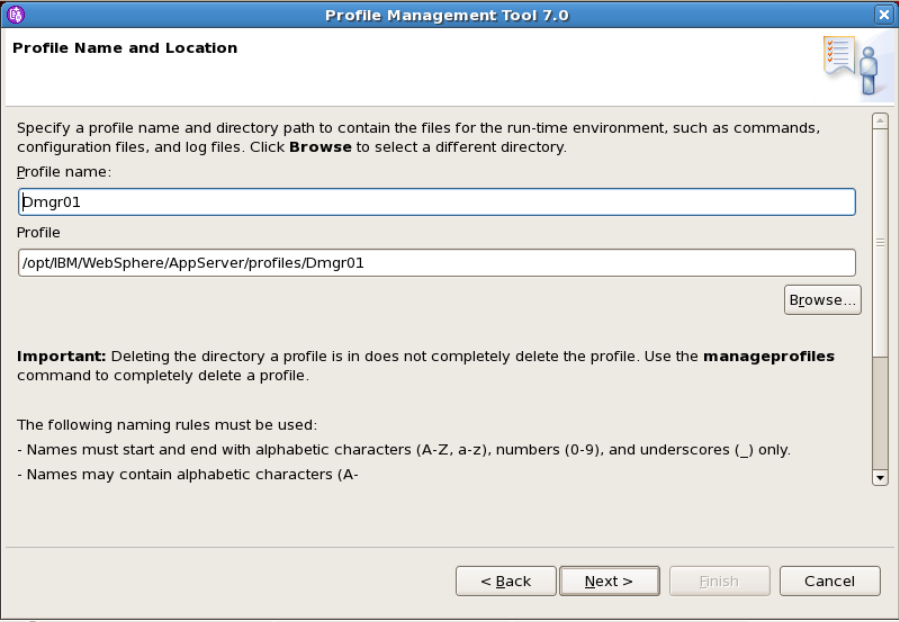
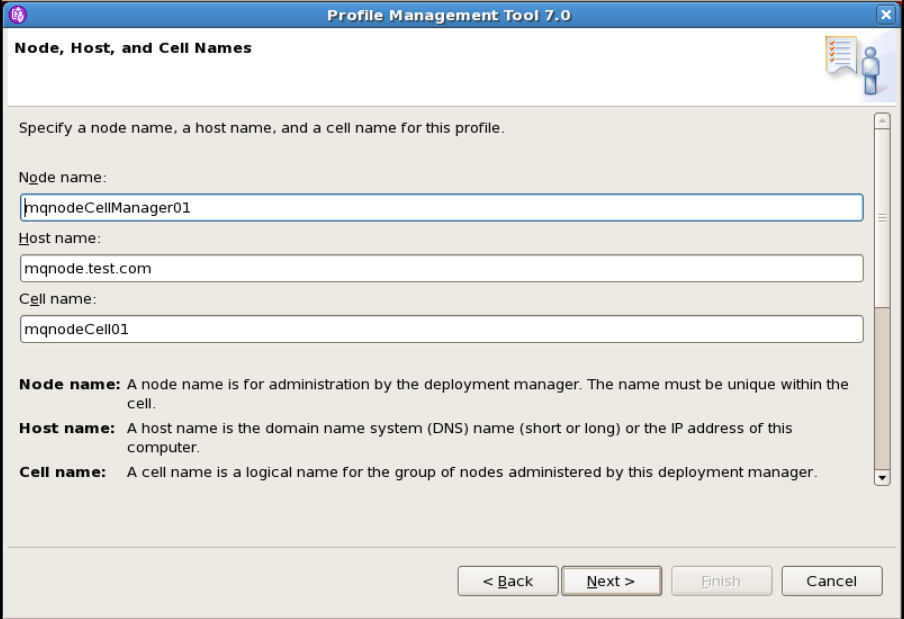
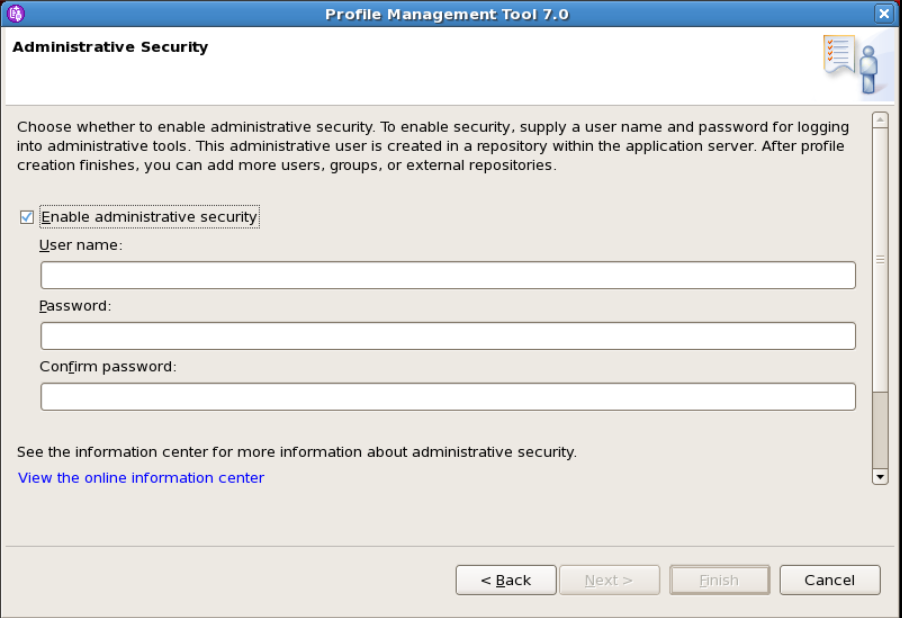
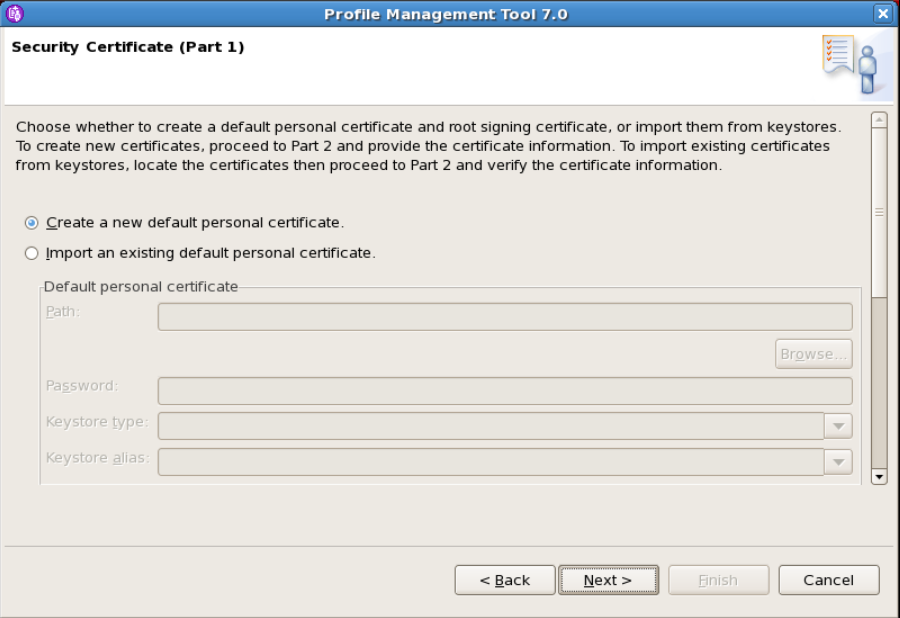
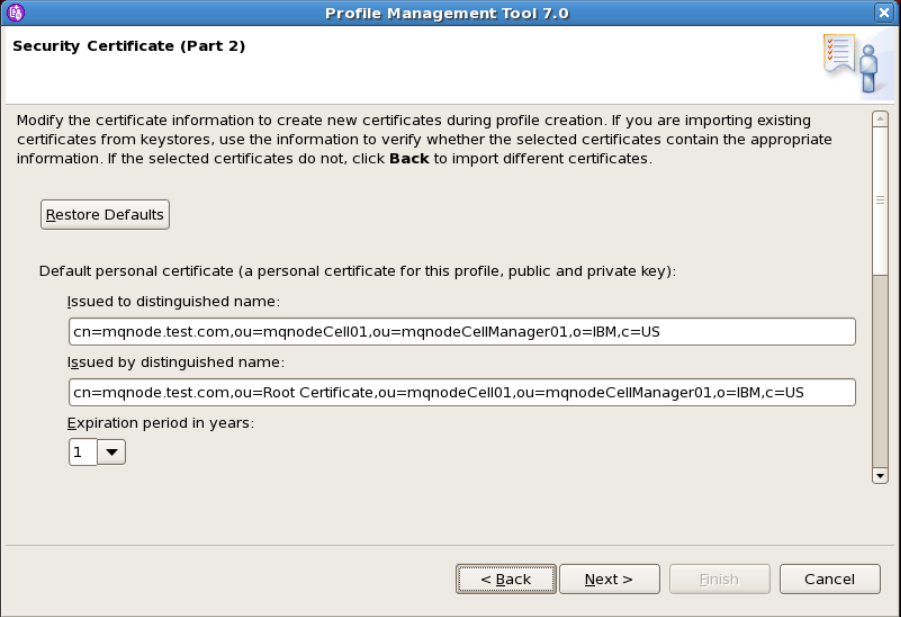
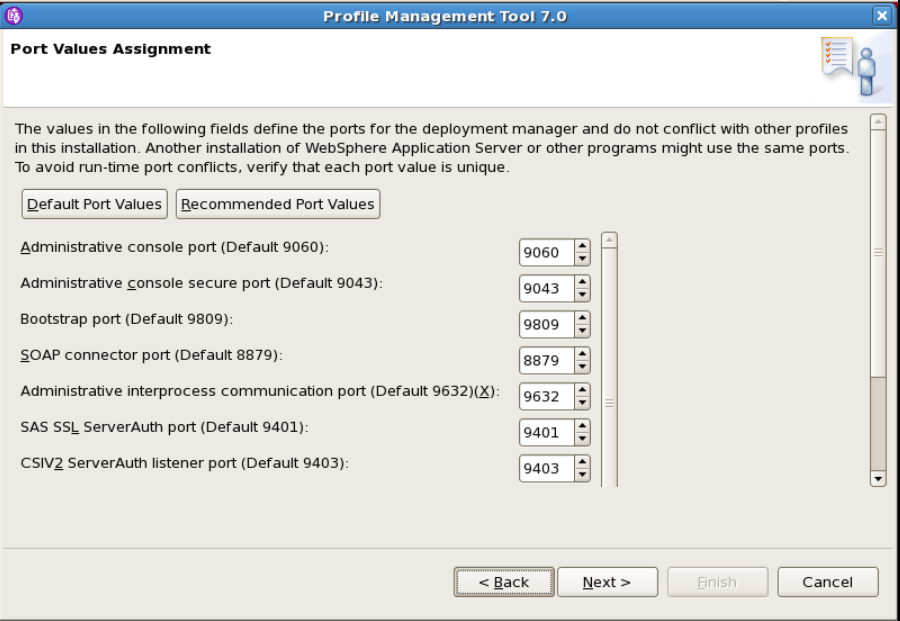
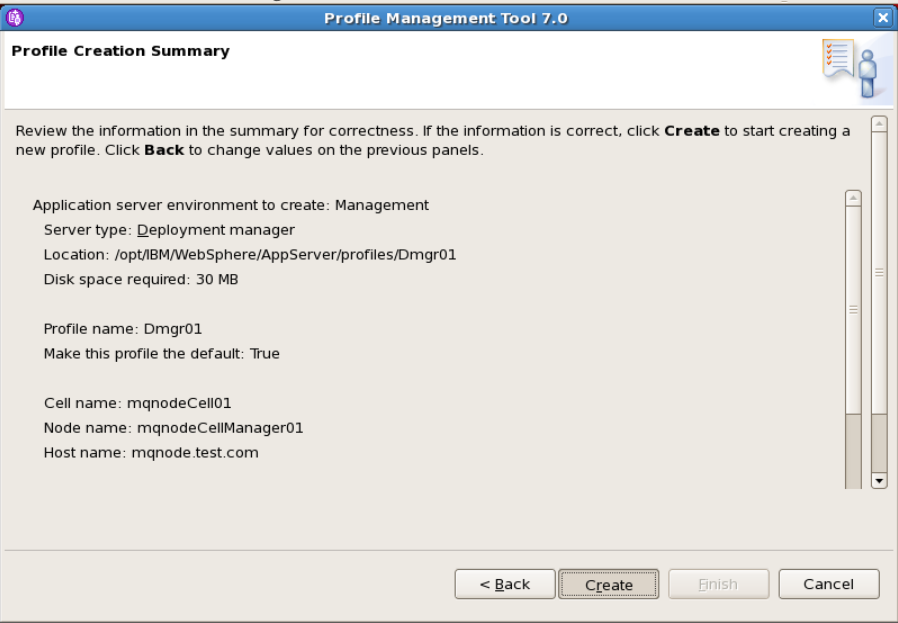
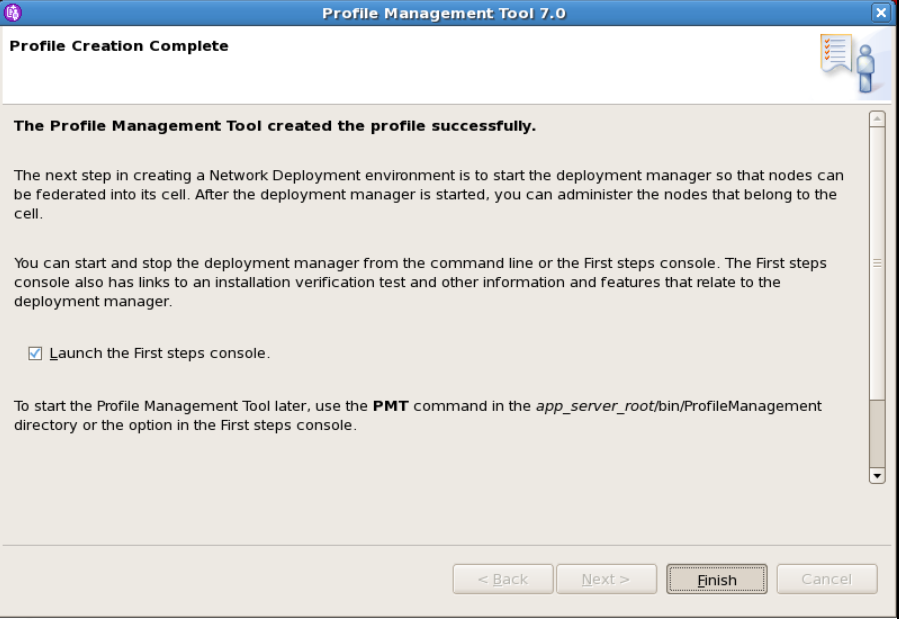
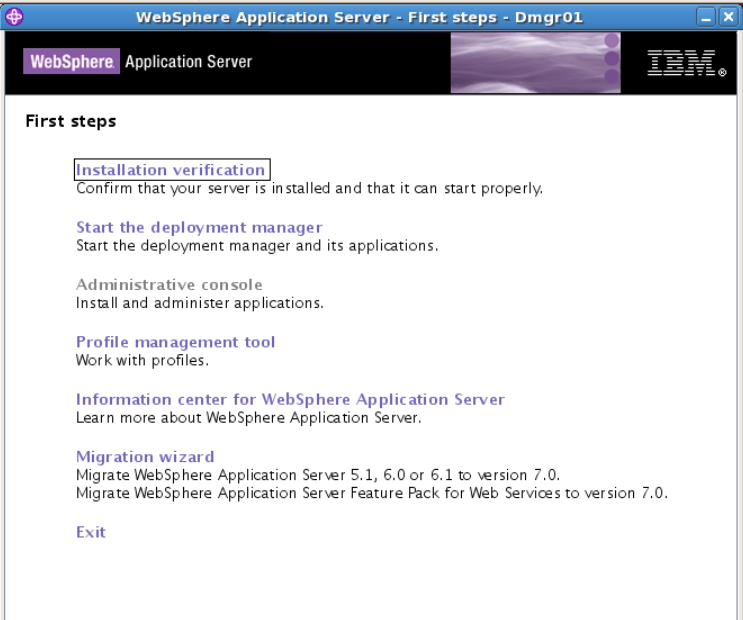
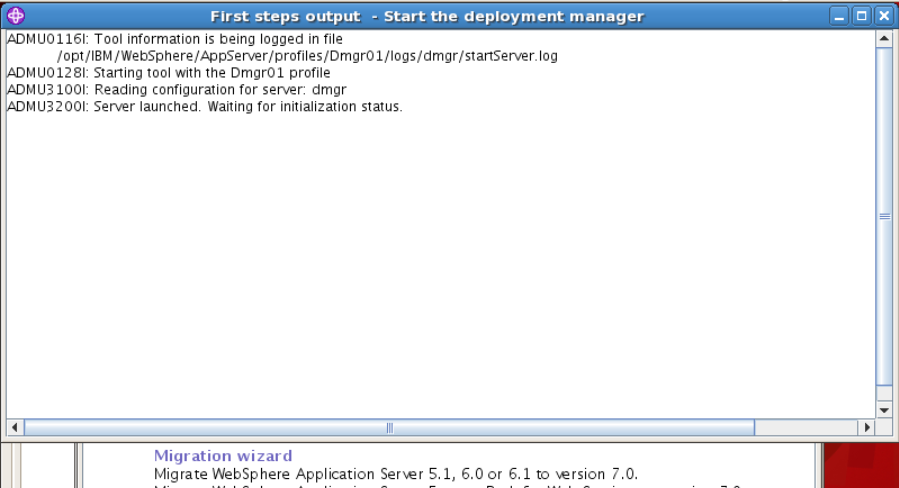
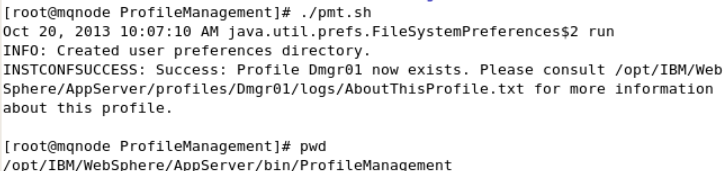
Step7: Create the Dmgr profile on dmgr1.myorg.com
Step8: Install WebSpere Application Server on the Application Server Node ie wasnode.myorg.com (10.0.0.3)
Step9: Create AppServer profile on wasnode.myorg.com (10.0.0.3)
Step10: Federate the Appserver Profile from wasnode.myorg.com (10.0.0.3) to the Dmgr Cell
Step11: Install WebSpere Application Server on the Standby  Dmgr ie dmgr2.myorg.com (10.0.0.2)
Step12: Copy profileRegistry.xml from the dmg1.myorg.com to dmg2.myorg.com
Step13: Failover from Primary ie dmgr1.myorg.com ( 10.0.0.1) to the Standby dmgr2.myorg.com (10.0.0.2)
Step14: Testing the Failover to Standby dmgr2.myorg.com ( 10.0.0.2) from Primary ie dmgr1.myorg.com ( 10.0.0.1)
Step15: Failback to Primary ie dmgr1.myorg.com ( 10.0.0.1) from  Standby dmgr2.myorg.com ( 10.0.0.2)


To get automated mail updates of my Posts..
Please subscribe to the site http://webspherepundit.com
And also like the Facebook Page
https://www.facebook.com/webspherepundit


Create the DMGR Profile using Profile Management Tool

After installing the core Websphere product files for the product, you must create a profile.
You can refer to  WebSphere App Server 7.0 Installation on Linux Using GUI

Methods to create the profile
a) To create the profile you can use the graphical user interface tool that is provided by the Profile Management Tool.
b) You can also use the manageprofiles command to create profiles

Assumption :
a) The binaries are installed in /opt/IBM/WebSphere/AppServer
b) You have sudo access or root access

1) Profile Creation
Launch the Profile Management Tool
<was_root>/bin/ProfileManagement/pmt.sh

In our case its /opt/IBM/WebSphere/AppServer/bin/pmt.sh

ProfileDmgr1

2) Profile Management Tool
The PMT has loaded, the option to create a profile will be available.Click Create to start the profile creation wizard

ProfileDmgr_2


3) Environment Selection
Select which type of Profile you want to create
We would be creating the Dmgr profile . It is within the Management option

profiledmgr_4

4) Server Type Selection
Select the Deployment Manager profile and click Next

profiledmgr_5

4) Profile Creation Option
We will select the “Advanced profile creation” as we will be able to customize the path, cell names, ports etc.
Click Next

profiledmgr_6

5) Optional Application Deployment
Select the ” Deploy Administration console” this application is used to manage your application servers
Click Next

profiledmgr_7

6) Profile Name and Path
Enter the Profile Name and the Path of the DMGR profile
Click Next

ProfileDmgr_8

7) Node , Host and Cell
Enter the Node , Host and Cell of the DMGR profile
Click Next

profiledmgr_9

7) Administrative Security
Select the Administration security
Enter the admin username : in our case we would do as “wasadmin”
Enter the password
Click Next

This is user with which we can login to the admin console and the administer the cell

profiledmgr_10

8) Security Certificate
The certificates for the internal communication and access .. we will use the create “Default Personal Certificates”
Click Next

profiledmgr_11

9) Security Certificate 2
The certificate details are mentioned and the expiry duration is mentioned .. you could extent the validation of the certificate
Click Next

profiledmgr_12

10) Port Details
The Port assignment is mentioned . you could change the ports
Ensure that the ports are not in use . Else it would cause the port conflict
Click Next

profiledmgr_13
10)Linux Service Definition
Enabling this selection will create scripts in the /etc/rc.d/ to auto restart the profile when the physical restarts
Click Next

profiledmgr_14

11) Summary
Validate the summary details before creating the profile  . Click Create

profiledmgr_15

12)Profile Creation Progress
During the profile creation the logs would be created in <was_home>/logs/manageprofile/ folder
Monitor the logs for any errors

profiledmgr_16

12)Profile Creation Completed
If the profile creation is sucessful the message will be displayed .
Enable the first steps

ProfileDmgr_17

13)First Steps
Here you could validate the installation
Start the dmgr servers etc

ProfileDmgr_18

profiledmgr_19

14 ) AboutThisProfile
This text is within the <profile_home>logs/AboutThisProfile.txt
This file will contain the details of the profile like
ProfileName,Ports, Path etc

profiledmgr_20

15 ) List the profiles
Navigate to <WAS_HOME>/bin/manageprofile.sh -listProfiles
for eg /opt/IBM/WebSphere/AppServer/bin/manageprofile.sh -listProfiles

ProfileDmgr_21

16 ) Login to the admin console
Open the browser
Enter the url ; https://ipaddressofhost:9043/ibm/console
Check the Administrative Console Port Secure in AboutThisProfile.txt
Enter the
Admin username : wasadmin
Put the password and login

ProfileDmgr_22