Installation Manager Wizards guide you through the steps that you must take to install, modify, update, roll back, or uninstall your IBM products.
Use Installation Manager to install individual software packages on your local machine
The WAS v8 installation GUI has been changed since WAS v7.
A major benefit is that IIM provides a common installation interface for many products
Prior to the WAS 8 release, each OS version of WAS required separate downloads.
Using a repository system now saves many hours of download and also disk space and simplifies the management of different installation packages.
Downloading and Installation of IBM Installation Manager
1) You can download the IBM Installation Manager from the Passport Advantage or
https://www-304.ibm.com/support/docview. wss?uid=swg24029226.
Ie “agent.installer.linux.gtk.x86_1.5.2000.20120223_0907.zip”
2) Copy the “agent.installer.linux.gtk.x86_1.5.2000.20120223_0907.zip” file to a suitable location on your Linux server and unzip it
 3) Decompress the ZIP file using the unzip command
4) Ensure you have an X Window System (X11 for short) session running or Xming or Xmanager for GUI access to the Linux Server
5) Run the installer using the following command from the installed folder
./install
6) The IIM installer will begin an installation wizard. The following screen is presented detailing the version of IIM that is going to be installed.
7) Read the license agreement, and then select the I accept the terms in the license agreement radio option, and click Next
8) It will you will be given an option to change the location where the IBM Installation Manager will be installed.
You can accept the default location or alter it as per your requirement.
This path is referred <iim_root>. Click Next to continue:
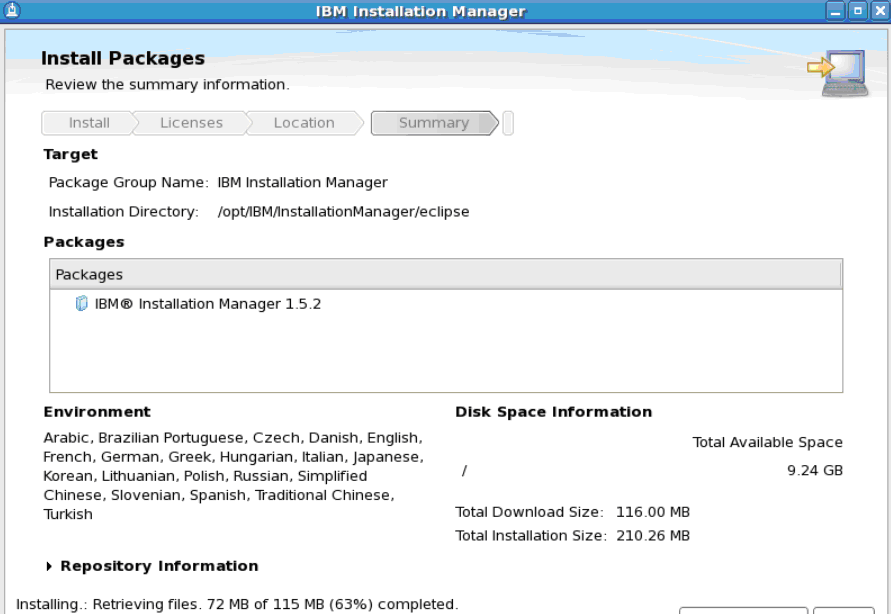
 9) Review the installation summary information that is presented and click Install to perform the installation.
10) Once the IIM installation has completed, click the Restart Installation Manager button to restart IIM.
11) You can also launch the Installation Manager from the path /opt/IBM/InstallationManager/eclipse/
Execute ‘./IBMIM”
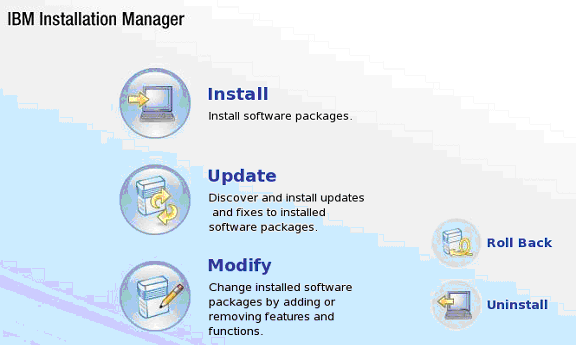
 12) Once IIM is loaded, you will be presented with the workbench screen
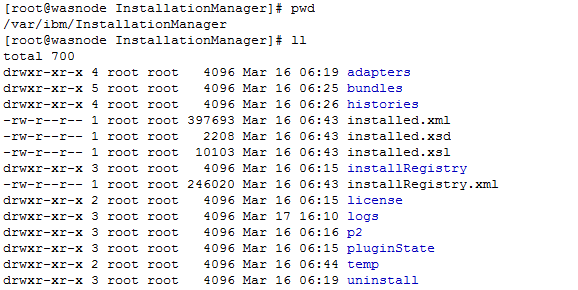
Verify the Installation
Navigate to the /opt/IBM/InstallationManager/ path
Navigate to /var/ibm/InstallationManager
Command of the Installation Manager
Check the version of Installation Manager
1) Navigate to /opt/IBM/InstallationManager/eclipse/tools
Execute : ./imcl -version
Check the list of Installed Packages
1) Navigate to /opt/IBM/InstallationManager/eclipse/tools
Execute : ./imcl listInstalledPackages
Check the List of Installed Directories
1) Navigate to /opt/IBM/InstallationManager/eclipse/tools
Execute : ./imcl listInstallationDirectories


