Steps for Installation of WebSphere Application Server 8 on Linux
Scope of the Document
a) Install the Installation Manager
b) Install Websphere Application Server 8 using GUI on Linux.
It do not contain the steps for the profile creation . it will be covered in the further posts
Installation scenarios
Before beginning an installation, it is important that you think about the type of WAS install you wish to perform.
The WAS installation process requires two main actions:
1. Installation of base binaries (which are the core executable).
2. Profile creation.
A conceptual diagram of the WAS installation components is shown next:

Preparation and prerequisites
Before we start with the WebSphere Application Server installation, we need to ensure the correct installation media is available and that the operating system prerequisites have been met.
- What version of WAS is required to support your applications?
- Are there any OS parameters for the platform required for the chosen version of WAS?
- What version of OS and fix packs are required to support the chosen version of WAS?
- Identify the filesystem where you will be installing the Websphere binaries and the path where you will have the profile created
- Those filesystems is recommended to be on a separate partition should have sufficient space and also for the logs
- Have atleast 1GB for the /tmp folder
- Have the root access or the sudo access
Graphical installation
Part 1—Installing the base binaries
Details of the Server : Red Hat Enterprise Linux Server release 5.6
Binaries Path : /opt/IBM/WebSphere
WAS Version: WAS ND 8
The WAS v8 installation GUI has been changed since WAS v7. IBM has updated many of its products to use a common Java-based installation tool called the IBM Installation Manager (IIM).
Downloading WAS 8
1) Traditionally, installation media for WAS used to be obtained on CD
2) Organizations moving to Internet-based downloads often referred to as software by wire.
IBM provides the official WAS software downloads using an online system called Passport Advantage
3) Use the customers Passport Advantage to download the package
The WAS v8 installation GUI has been changed since WAS v7.
A major benefit is that IIM provides a common installation interface for many products
Prior to the WAS 8 release, each OS version of WAS required separate downloads.
Using a repository system now saves many hours of download and also disk space and simplifies the management of different installation packages.
Downloading and Installation of IBM Installation Manager
1) You can download the IBM Installation Manager from the Passport Advantage or
https://www-304.ibm.com/support/docview. wss?uid=swg24029226.
Ie “agent.installer.linux.gtk.x86_1.5.2000.20120223_0907.zip”
2) Copy the “agent.installer.linux.gtk.x86_1.5.2000.20120223_0907.zip” file to a suitable location on your Linux server and unzip it
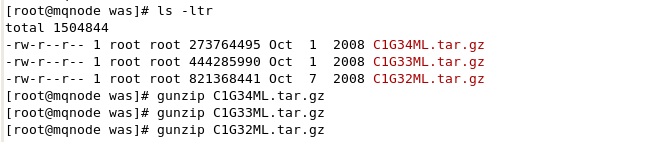
 3) Decompress the ZIP file using the unzip command
4) Ensure you have an X Window System (X11 for short) session running or Xming or Xmanager for GUI access to the Linux Server
5) Run the installer using the following command from the installed folder
./install
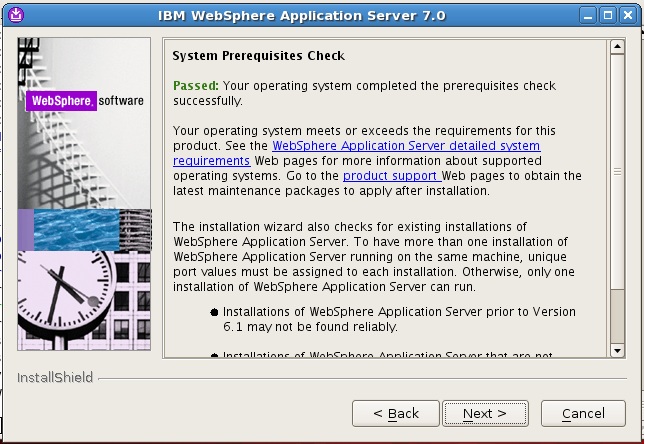
6) The IIM installer will begin an installation wizard. The following screen is presented detailing the version of IIM that is going to be installed.


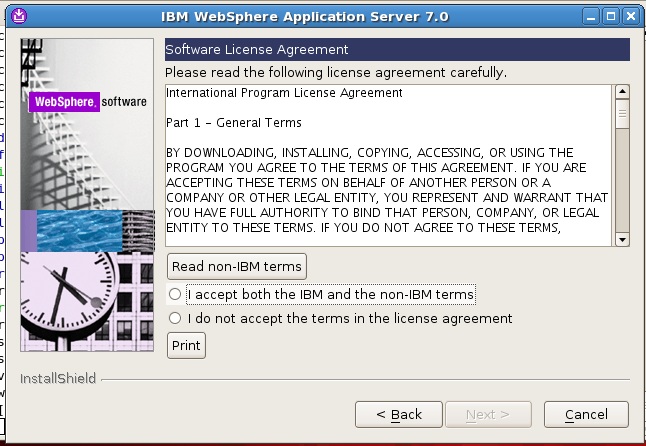
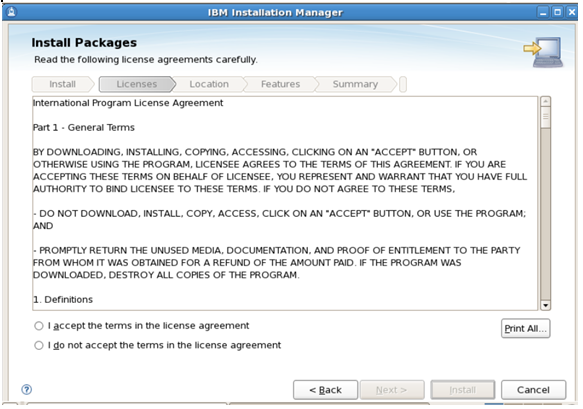
7) Read the license agreement, and then select the I accept the terms in the license agreement radio option, and click Next

8) It will you will be given an option to change the location where the IBM Installation Manager will be installed.
You can accept the default location or alter it as per your requirement.
This path is referred <iim_root>. Click Next to continue:

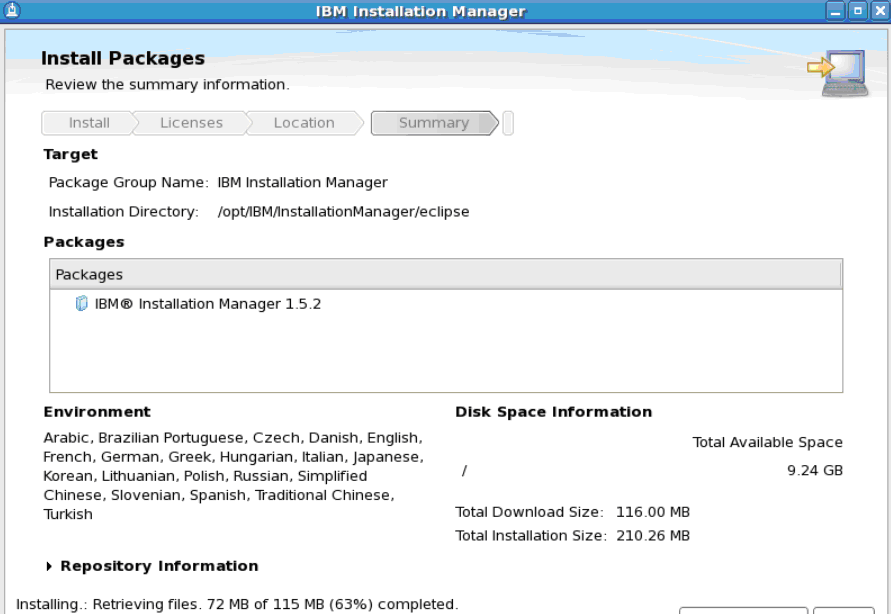
9) Review the installation summary information that is presented and click Install to perform the installation.
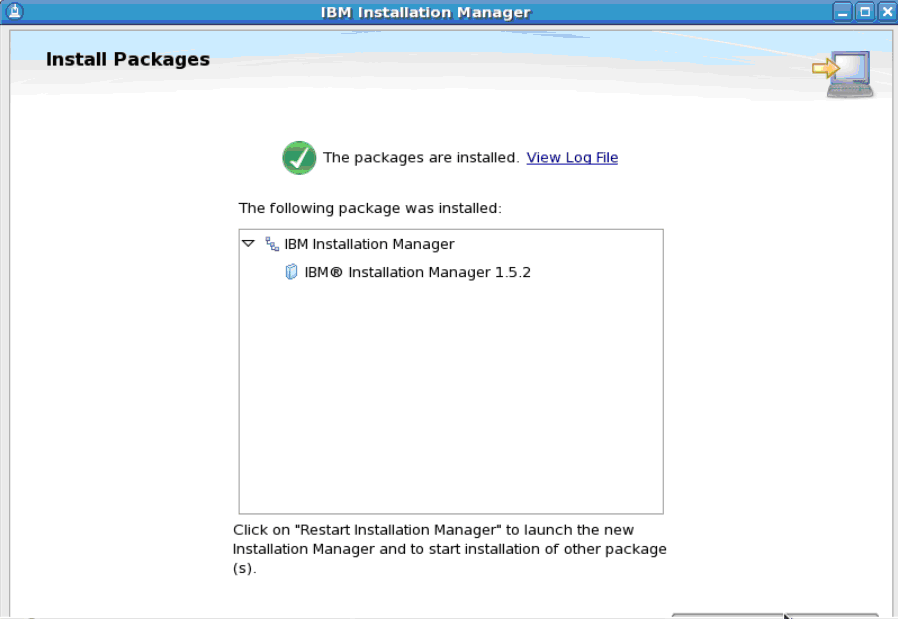
10) Once the IIM installation has completed, click the Restart Installation Manager button to restart IIM.
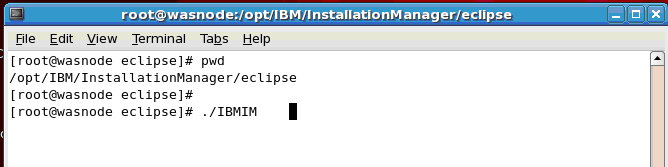
11) You can also launch the Installation Manager from the path /opt/IBM/InstallationManager/eclipse/
Execute ‘./IBMIM”
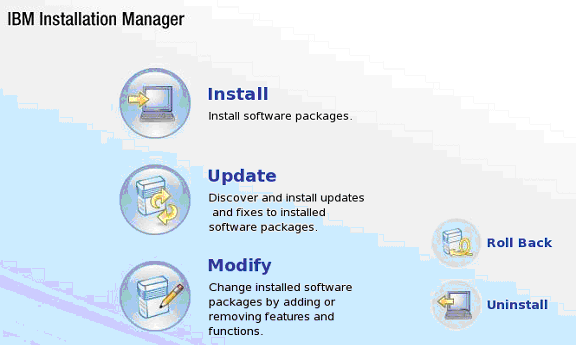
12) Once IIM is loaded, you will be presented with the workbench screen
Verify the Installation
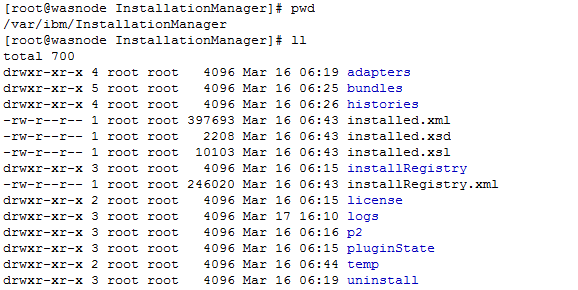
Navigate to the /opt/IBM/InstallationManager/ path

Navigate to /var/ibm/InstallationManager
Installation of WebSphere Application Server 8
1) Launch Installation Manager using ./IBMIM
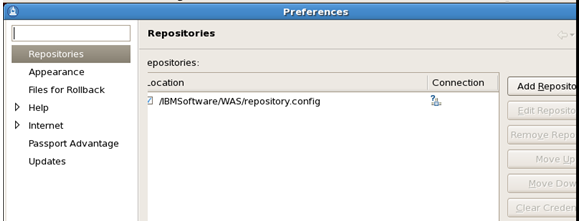
2) Set the repository location preferences for the IIM
Using the File menu, select the Preferences option

3) To add a repository location, click the “Add Repository” button
I have saved the Software dump at /IBMSoftware/WAS/repository.config
Click Apply and OK
4) From the IIM workspace launch the “INSATLL” option

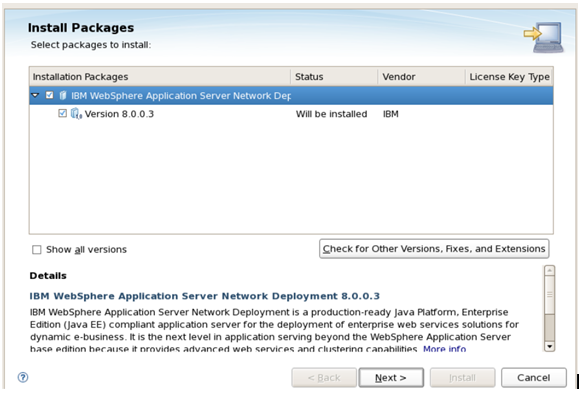
5) Ensure that all the installation packages are selected.
Click the Check for other Versions, Fixes and Extensions button and IIM will re-verify the available downloads online.
Once the verification is complete, click Next.
6) Accept the license and click Next
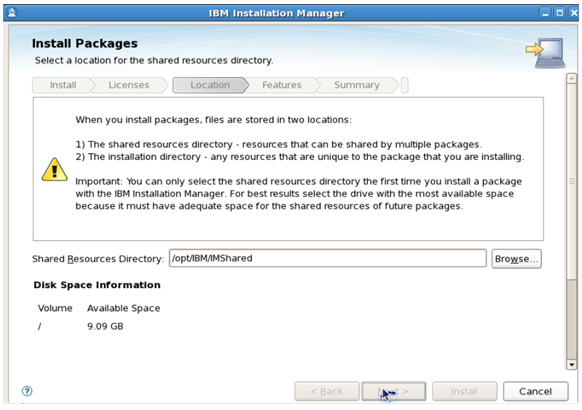
7) The next screen defines where the IIM will create the WAS-shared resources folder. We have used the default provided location /opt/IBM/IMShared
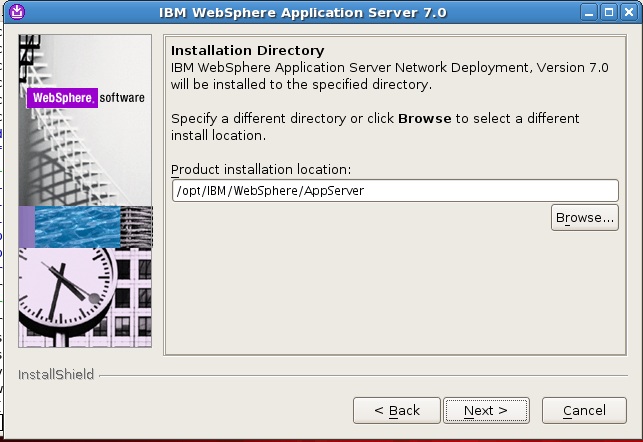
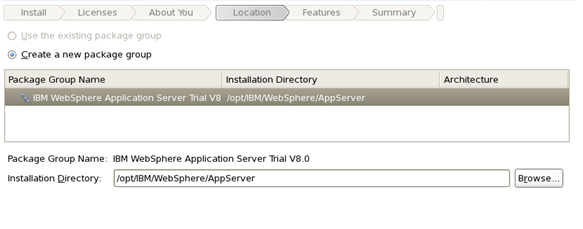
8) Define the location where the WAS needs to be installed . We will keep at default ie /opt/IBM/WebSphere/AppServer/
 9) On the next page, select your preferred language, and click Next again, to move onto the features screen
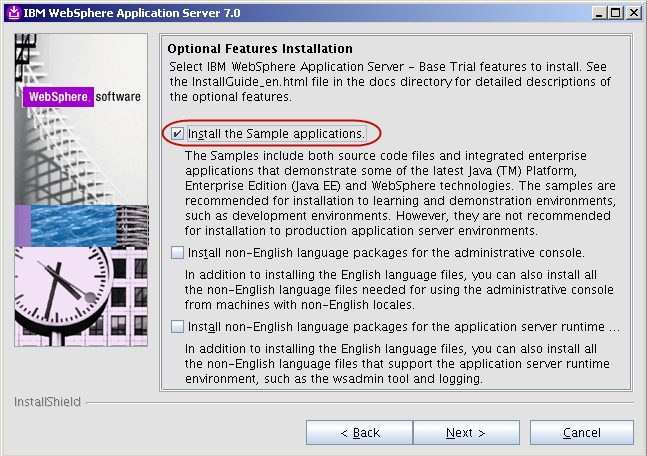
10) Within the features screen, you will have the option to install the sample applications provided by IBM for testing JEE concepts and features of WAS.

11) Click Next to proceed to the final summary screen and review the options you have chosen in the previous steps.
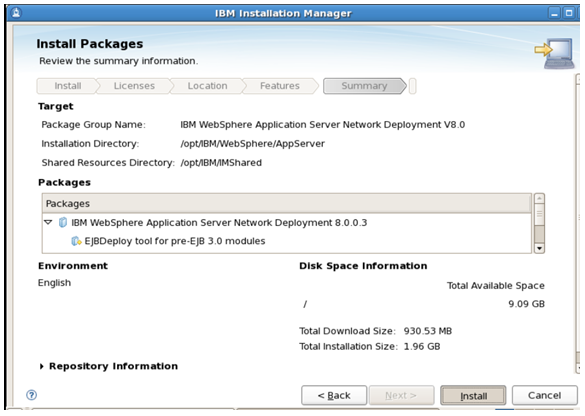
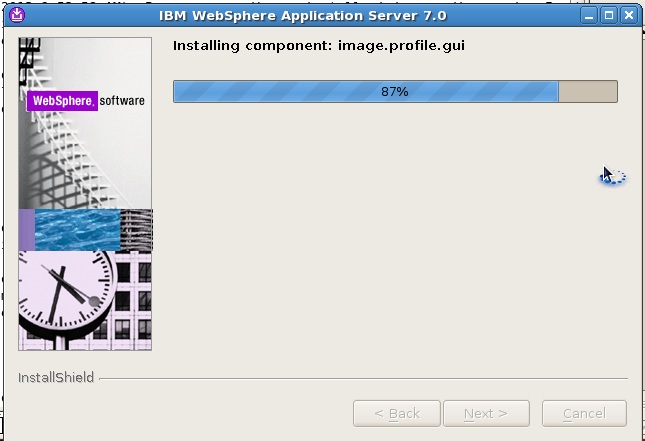
12) Click the Install button to begin the actual WAS installation.
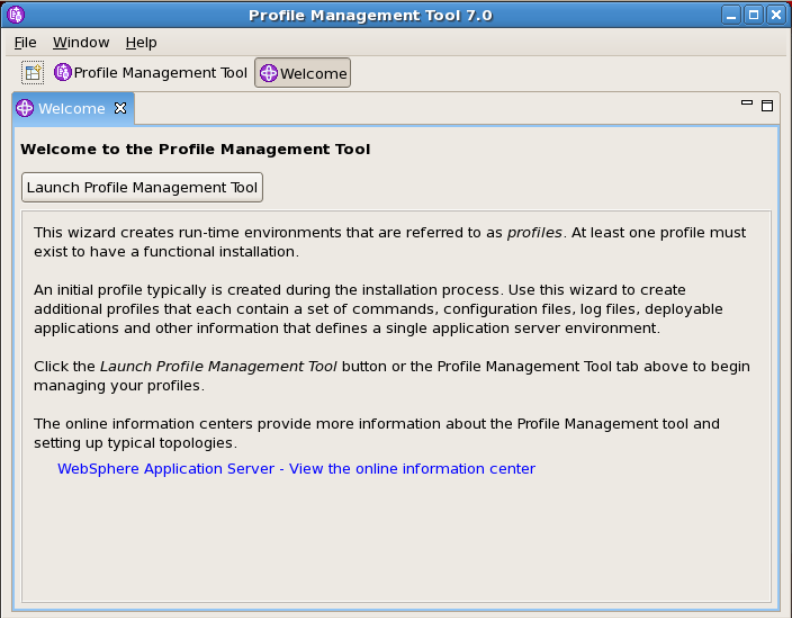
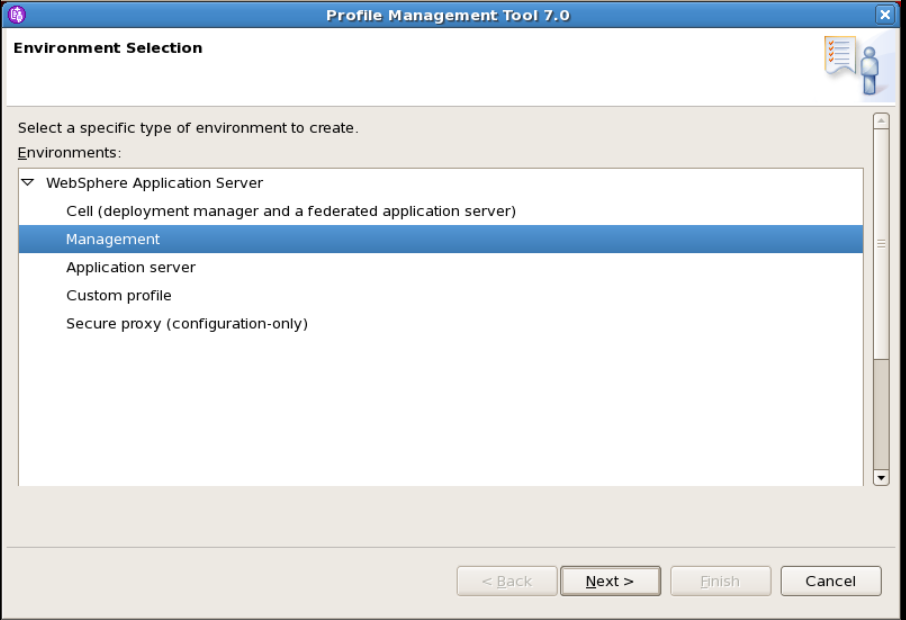
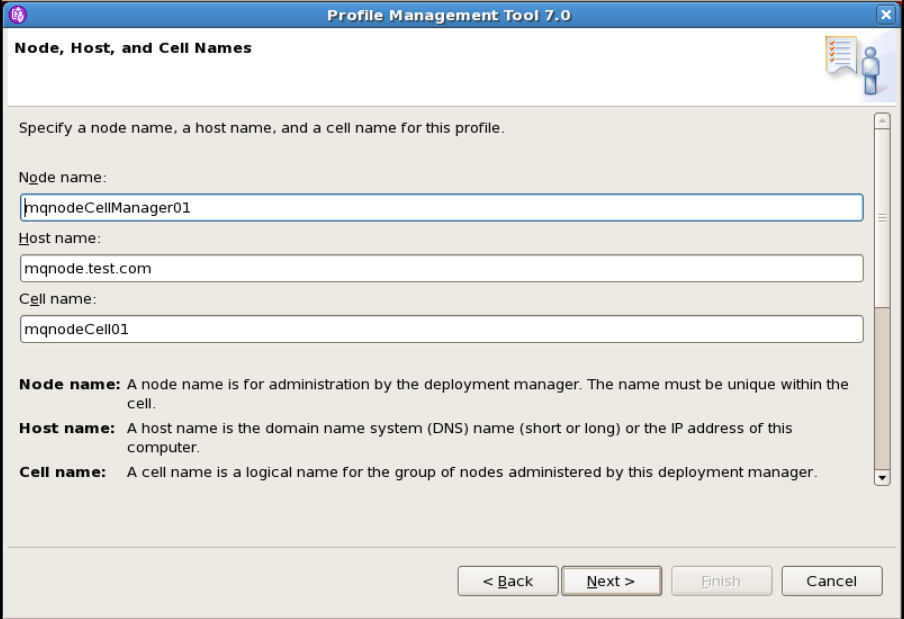
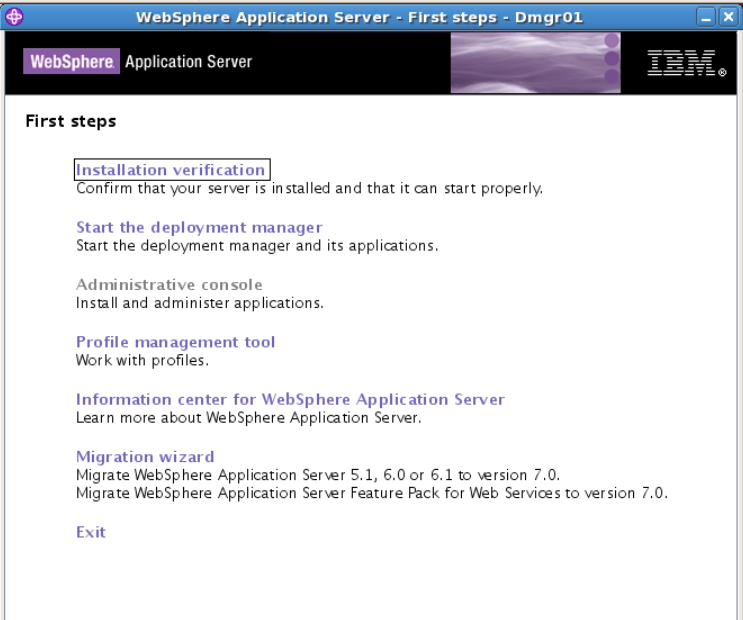
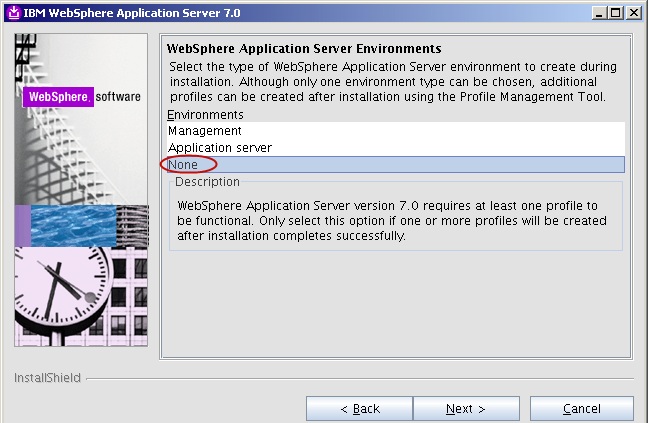
13) Once the installation is complete, you will be given an option to run the Profile Management Tool (PMT) to create a WAS profile.
We will install the Profiles later so we will Select the option labelled None and exit the IBM Installation Manager.
Verifying The Installation
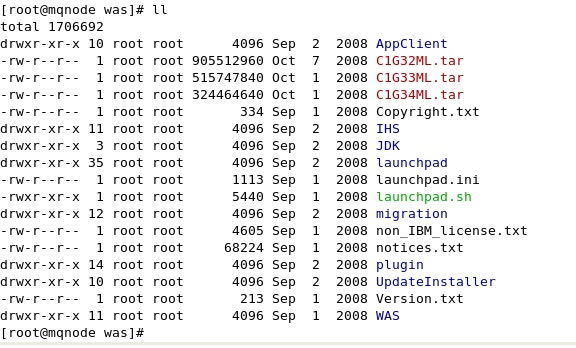
1) Navigate to the Installation folder to verify if the permissions and the folders are created
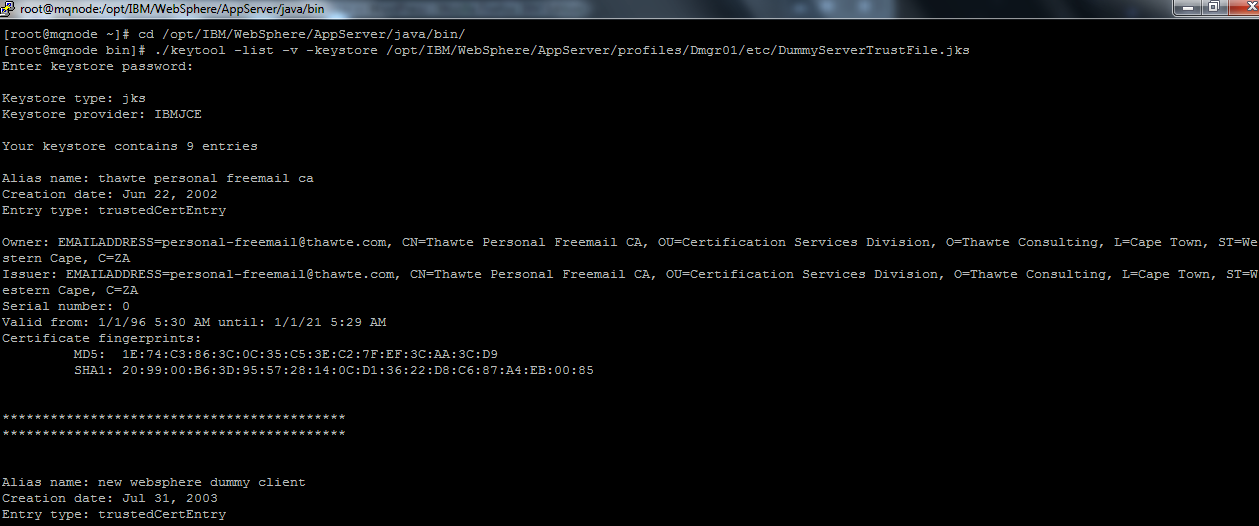
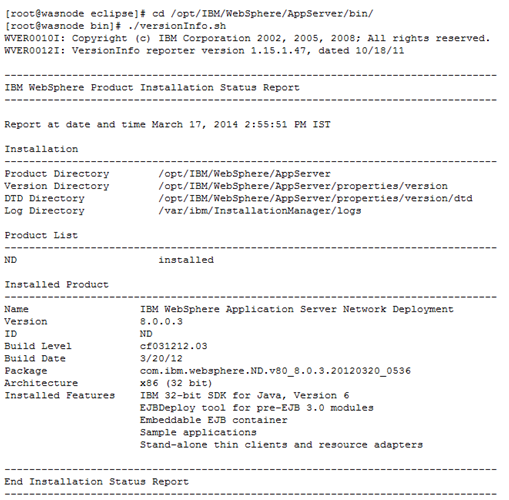
2) Check the Version of the Websphere Application Server using versionInfo.sh
Execute <was_root>/bin/versionInfo.sh
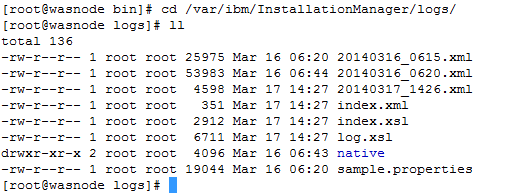
Installation logs
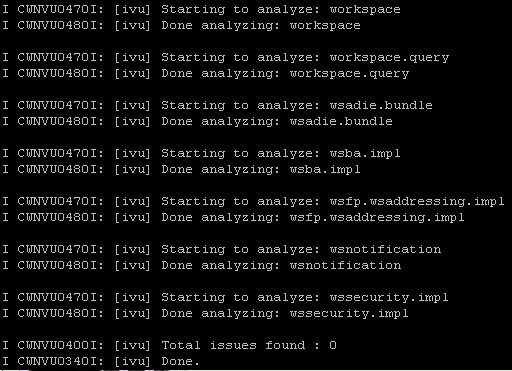
The IIM logs events as it is installing the WAS product . It will update the events during the installation of WAS
Path of Logs : /var/ibm/InstallationManager/logs/
IIM Logs are XML based logs